
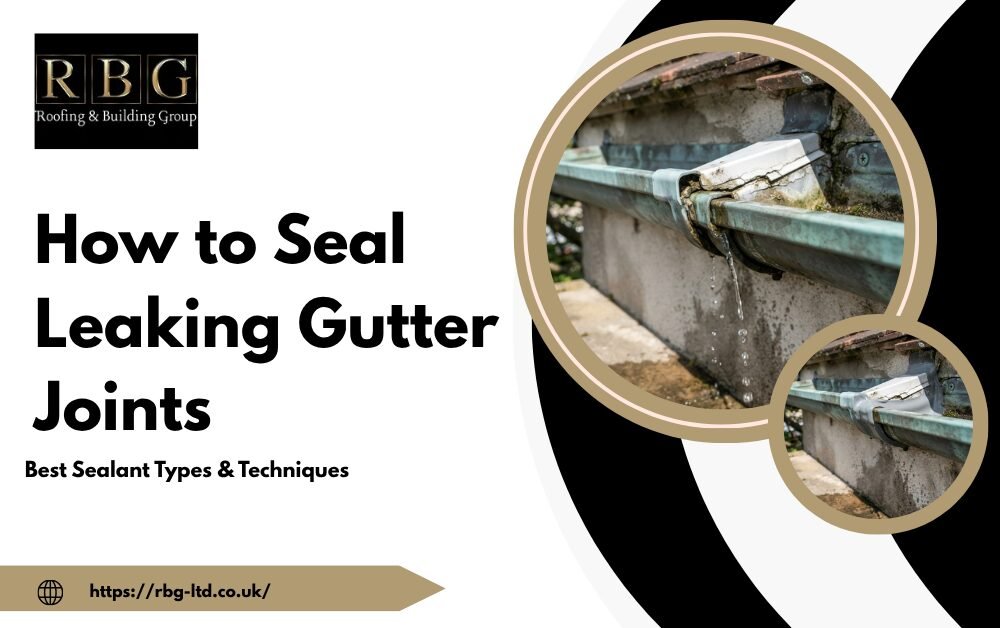
A leaking gutter joint is one of the most common problems homeowners encounter, and although it may look like a small issue at first, ignoring it can eventually lead to damp patches on walls, rotting fascias, and even structural damage further down the line. A properly applied seal is usually enough to resolve the problem, but success depends on identifying the correct sealant for your gutter type and applying it with the right technique.
This guide we will walk you through how to seal leaking gutter joints also covers the different types of gutter joints, how to pick the right sealant, the correct application process, and when the problem is serious enough to need a professional.
Types of Gutter Joints
Different joints fail in different ways, so recognising which type you have makes it easier to know where leaks are likely to start and how best to fix them.
Angle Joints
Angle joints are used where the guttering changes direction without forming a sharp corner, such as along a hip roof. Like corner joints, they deal with increased water pressure, and because the angles involved are often less standard, getting a fully consistent seal can be trickier.
Expansion Joints
Expansion joints allow guttering to move naturally as it expands and contracts with temperature changes, particularly on longer runs or systems exposed to significant heat variation. Although designed to accommodate movement, the seal at these joints can degrade faster than at standard joints if it isn’t periodically checked and resealed.
Corner Joints
Corner joints guide water around changes in direction along the roofline and tend to come under more strain than straight sections. Water often gathers and shifts direction abruptly at these points, putting extra pressure on the seal, particularly during heavy downpours.
Stop End Joints
Stop end joints close off the open ends of a gutter run, preventing water from spilling over the edge. On older systems in particular, these joints are prone to failure, as the end cap can work loose or the sealant can dry out more quickly due to constant exposure.
Outlet and Downpipe Joints
These joints link the guttering to the downpipe and are especially prone to problems when blockages occur, as trapped debris puts additional strain on the seal. Leaves and dirt building up near the outlet prevent water from draining properly, which increases the risk of overflow and leaks at this connection point.
Union or Connector Joints
Union joints connect straight lengths of guttering and are among the most common sites for leaks, largely due to the constant expansion and contraction the gutter undergoes. Since these joints sit along flat runs, homeowners often spot dripping here first, especially after the seal loosens from repeated temperature changes.
Choose the Right Sealant for Gutter
How long a seal lasts depends on the type of sealant used and the conditions it faces. Silicone and polyurethane sealants generally hold up for several years under typical weather conditions, while cheaper or mismatched sealants tend to fail much sooner.
Plastic/uPVC Gutter Sealant
uPVC guttering requires a sealant formulated for plastic surfaces, as general-purpose sealants often fail to adhere properly and break down prematurely.
Polyurethane Sealant
Polyurethane sealants are valued for their durability and resistance to harsh weather. They adhere well across a variety of surfaces and stay flexible even when temperatures drop.
Silicone Sealant
Silicone provides strong adhesion and good flexibility, which suit metal guttering that regularly expands and contracts. It also holds up well against moisture and prolonged UV exposure.
Butyl-Based Sealant
Butyl-based sealants suit heavy-duty jobs, providing reliable, long-term waterproofing. They perform particularly well in joints that handle constant water flow.
Tools and Materials You’ll Need
- Sealant gun
- Gloves and safety gear
- Ladder and stabiliser
- Wire brush or sandpaper
- Cleaning solution or degreaser
How to Seal Gutter Joints | Step by Step
If you are wonder how to seal leaking gutter joints you need to follow these steps:
Preparing the Joint Surface
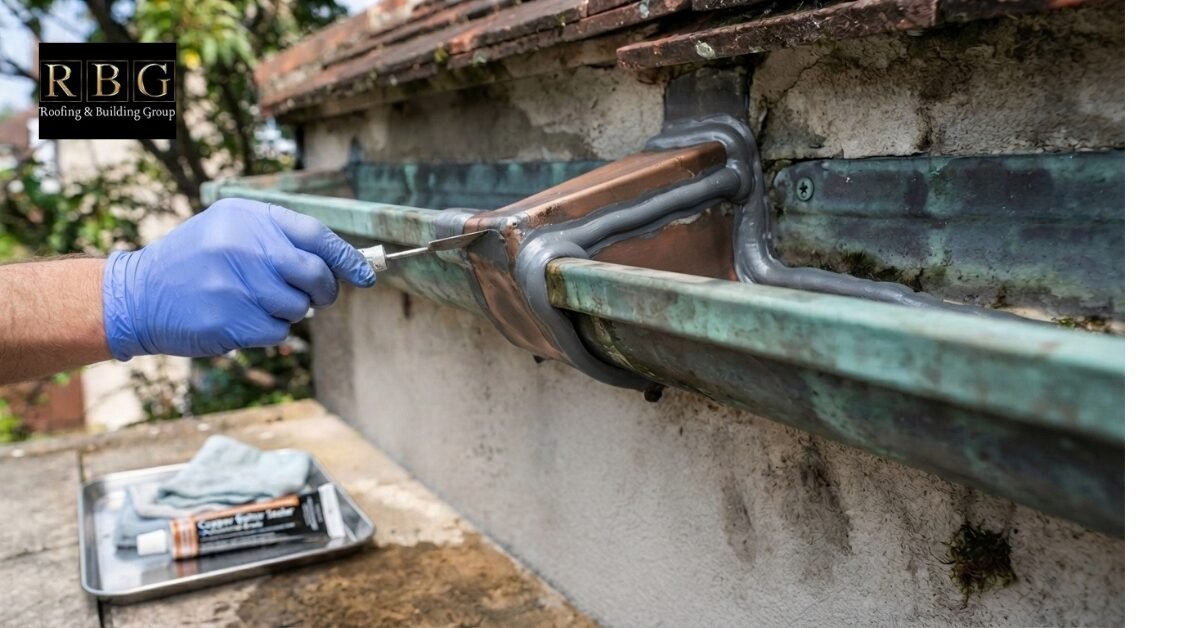
Begin by clearing away any leaves, dirt, or debris around the joint. Use a wire brush or sandpaper to strip away old, flaking sealant along with any rust or corrosion on metal gutters. Clean the surface with a suitable degreaser to remove oils or residue that could stop the new sealant from bonding properly, then leave the area to dry fully, ideally on a dry, low-humidity day, since trapped moisture beneath the sealant can cause it to fail early.
Applying an Even Sealant Bead
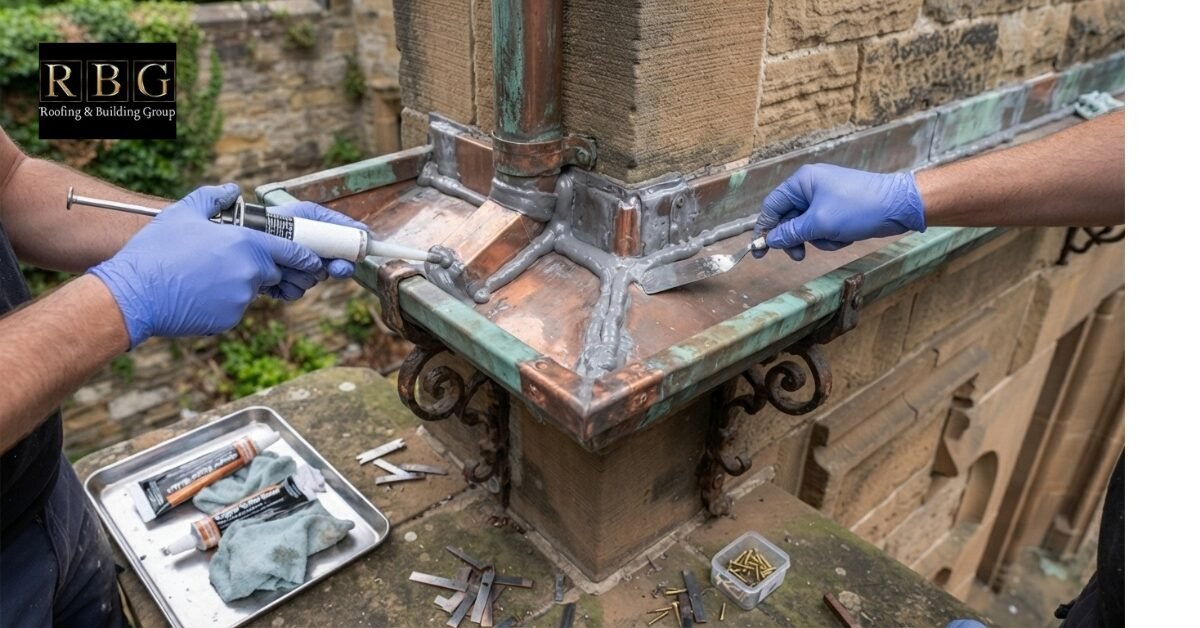
Load the sealant gun and cut the nozzle at an angle that matches the width of the gap you’re sealing. Starting at one end of the joint, apply firm, consistent pressure to run a continuous bead along the full length of the seam. Try not to stop partway through a joint, as this can leave weak spots where the seal fails to join up properly. Wider gaps or union joints often benefit from a slightly thicker bead to ensure full coverage.
Smoothing and Shaping the Seal
Run a smoothing tool, or a gloved finger dipped in a little soapy water, along the bead to press it firmly into place and create a neat, even finish. This step does more than improve appearance; it helps the sealant fill any small gaps or irregular areas in the joint, improving adhesion and lowering the risk of leaks. Wipe off any excess sealant from the surrounding gutter before it sets.
Curing Time Before Testing
The sealant needs time to cure fully before it comes into contact with water. Most products need at least 24 hours, though this varies depending on the sealant used and the weather, with cooler or more humid conditions often extending the curing period. Avoid running water through the gutter or exposing it to rain during this time. Once cured, test the joint by running water through the system and checking closely for any dripping or seepage.
Why Gutter Joints Leak Even After Sealing
Even a properly applied seal can fail over time, and understanding the common causes helps prevent the problem from recurring.
- Using the wrong sealant for your gutter material is a frequent cause of failure, as products suited to metal often don’t perform well on plastic guttering, and vice versa.
- Applying sealant to a surface that’s still wet or dirty prevents proper bonding, which often causes leaks to return shortly after the repair.
- Sun exposure and weathering degrade the sealant over time, causing it to become brittle, crack, or lose its flexibility, which is often why homeowners need to fix a leaking gutter joint more than once.
- A sealant layer applied too thinly can leave gaps or weak points that can’t withstand water pressure.
- Testing the joint before the recommended curing time has passed can compromise the seal before it has fully set, increasing the likelihood of early failure.
- Thermal expansion causes guttering to move with temperature changes, gradually placing strain on the seal at each joint.
Gutter Sealant Durability by Type
How long a gutter seal lasts depends largely on the type of sealant used and the conditions it’s exposed to. Here’s a general guide to help set expectations:
| Sealant Type | Typical Lifespan | Best Suited For |
| Silicone | 10 to 20 years | Metal gutters, high UV exposure |
| Polyurethane | 15 to 20 years | Weather-exposed joints, various materials |
| Butyl-Based | 20+ years | Heavy-duty, constant water flow |
| Plastic/uPVC Sealant | 8 to 15 years | uPVC gutters specifically |
Cheaper or mismatched sealants, regardless of type, tend to fail much sooner than these estimates, often within a year or two, particularly if applied to an incompatible gutter material or without proper surface preparation.
When You Should Call a Professional
A single, easily reachable gutter joint can often be sealed as a straightforward DIY job with the right tools and preparation. However, ongoing leaks, sagging gutters, or multiple problem areas along the roofline usually indicate it’s time to bring in a professional.
At RBG Roofing, we provide gutter repair services carried out by professional roofers in Forest of Dean, who take the time to properly assess the full scope of the problem rather than simply patching over the symptoms that are visible from the ground. Every job starts with identifying the root cause of the leak, whether that’s a failing seal, a damaged joint, or a wider issue with the guttering system itself.
Once the cause has been identified, we select the correct sealant for your specific gutter material, whether that’s uPVC, cast iron, or aluminium, and ensure each joint is thoroughly prepared before any sealant is applied. This attention to detail at every stage means the repair is built to last, rather than needing to be revisited again within a year or two.
Conclusion
Properly sealing a leaking gutter joint requires more than just applying sealant; it depends on choosing the right product for your gutter material and following the correct application process. Getting these details right helps prevent recurring leaks and protects your property from water damage over time.
If you’re dealing with a persistent leak or aren’t sure which sealant is right for your gutters, RBG Roofing is here to help.
Get in touch today to arrange an inspection and receive expert advice tailored to your property.
What Is the Best Sealant for Leaking Gutter Joints?
The best sealant depends on your gutter material. Silicone works well for metal gutters, while uPVC gutters require a plastic-specific sealant for proper adhesion.
How Long Does Gutter Sealant Take to Cure?
Curing times vary by product, but most sealants need at least 24 hours to fully cure before being exposed to water.
Can I Use Silicone Sealant on Plastic Gutters?
Standard silicone sealant may not bond well to plastic or uPVC surfaces. It’s best to use a sealant specifically designed for plastic guttering.
How Often Should Gutter Joints Be Resealed?
This depends on the sealant type and weather exposure, but most joints benefit from a reseal every few years to maintain an effective watertight barrier.
