
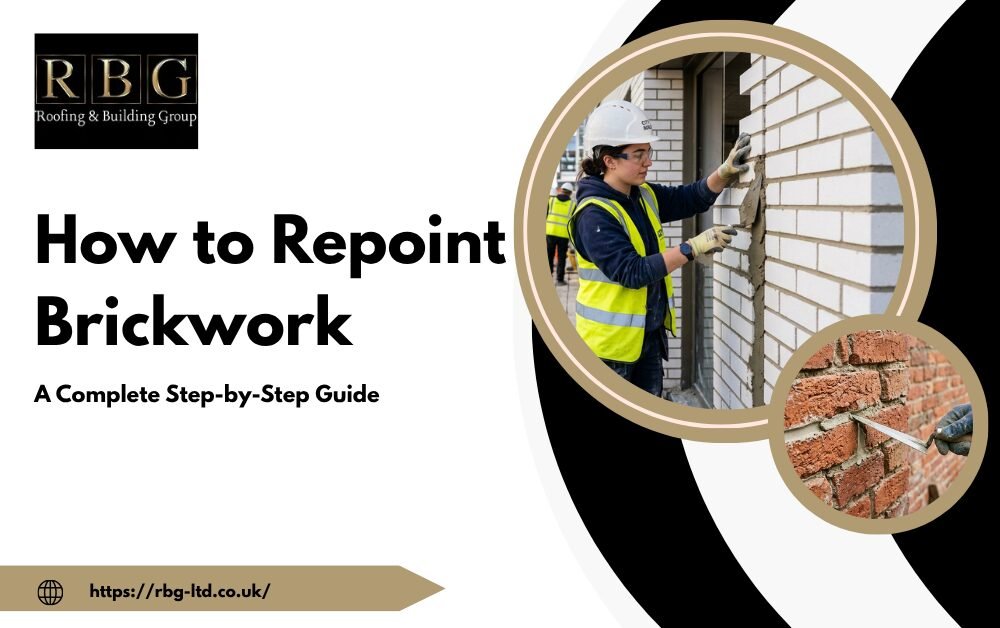
To repoint brickwork, rake out the old, crumbling mortar to a depth of about 12-15 mm, brush away the dust and debris, then pack in fresh mortar with a pointing trowel, matching the style of the surrounding joints. Let it dry slowly, and mist it with water over the next few days to prevent cracking.
Crumbling mortar between bricks is one of those problems that’s easy to ignore until it isn’t. Once the mortar starts breaking down, water seeps in, the walls begin to deteriorate, and what could have been a straightforward fix becomes far more costly. Beyond protection, neatly repointed walls make a noticeable difference to a property’s appearance. Whether it’s an exposed chimney stack, a garden wall, or the side of your home, fresh pointing gives brickwork a clean, well-kept appearance.
At RBG Roofing Ltd, we’ve maintained and repaired properties across the Forest of Dean for over 36 years, and in this guide, we’ll walk you through exactly how to Repoint Brickwork. What are maintenance tips, and when should you call a professional?
What Is Repointing Brickwork?
Brickwork repointing is the process of removing deteriorated mortar from the joints between bricks and replacing it with a fresh mix to seal the gaps and restore the wall’s structural integrity. Over time, rain, frost, and temperature changes cause mortar to crack and crumble, letting water penetrate the wall and leading to damp and structural damage. Repointing targets the joints directly, extending the wall’s lifespan and preventing far more costly repairs later.
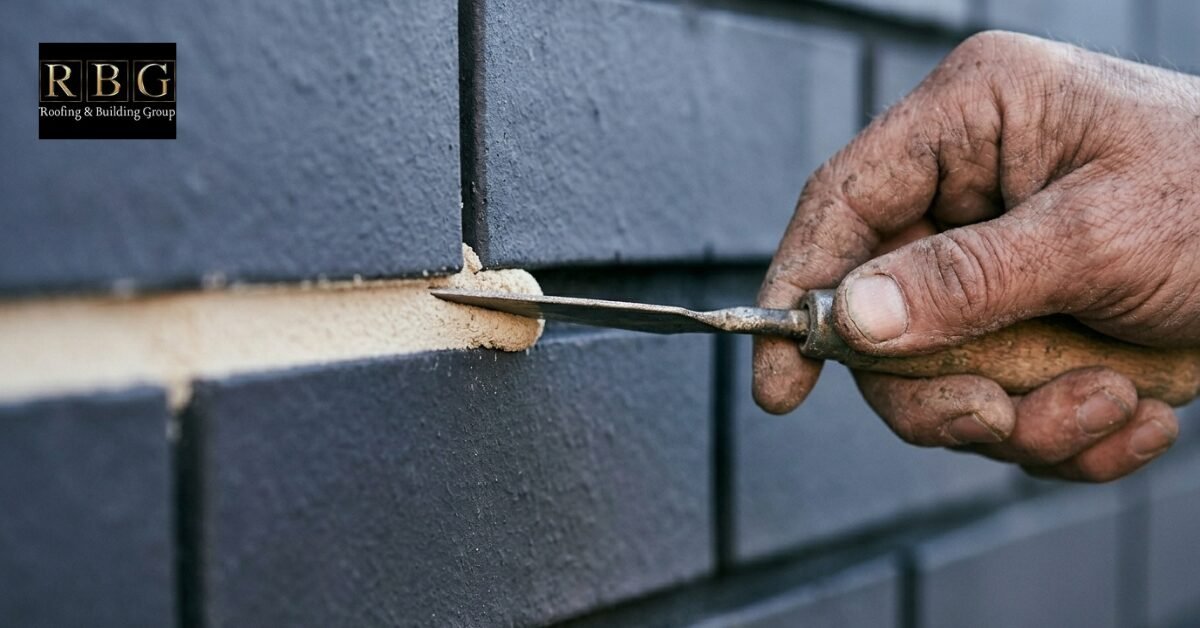
Repointing Brickwork Tools
Before starting, make sure you have the following:
- Pointing trowel, for pressing and shaping mortar into joints
- Brick jointer, to finish and smooth the joint profile
- Bricklaying trowel, for handling and transferring mortar
- Two buckets, one for mixing, one for rinsing tools
- Water supply, to keep the mortar at the right consistency
- Pre-mixed sand and cement, for a reliable, consistent mortar
- Soft brush or cloth for cleaning excess mortar off brick faces
Having everything to hand before you begin saves time and helps you work at a steady pace without mortar drying out mid-job.
Before you begin, it is worth knowing what the job might cost. Check out our guide to repointing costs in the UK for a better idea of what to budget. Or simply consult with us: our expert team will guide you through the best repointing option for your property.
How to Repoint Brickwork: Step by Step
Knowing how to Repoint Brickwork saves you time, money, and the trouble of watching the same problem return season after season. Follow these steps carefully for a finish that lasts
Step 1: Prepare the Wall
Start by thoroughly brushing down the entire wall surface to remove any dirt, dust, and loose debris that may have built up over time. Pay close attention to the joints themselves, as old mortar fragments and grime tend to collect there. The bricks need to be clean and reasonably dry before work begins, as moisture trapped beneath fresh mortar can cause bonding issues later. Once the wall is clean, clear the surrounding area of any tools, materials, or obstructions. Safe, unobstructed access to the full section you are working on makes the job easier and reduces the risk of accidents.
Step 2: Remove the Old Mortar
Using a cold chisel and club hammer, carefully rake out the old mortar from the joints. For larger areas, an angle grinder with a mortar raking disc can speed up the process considerably. Regardless of the method, remove the mortar to a depth of at least 15-20 mm to reach solid, stable material beneath. This depth is important because shallow removal leaves the new mortar with insufficient grip, making the joints prone to cracking and failure within a short period. Work steadily and methodically across the section, checking as you go that you are reaching a consistent depth throughout.
Step 3: Take Care Around Openings
Windows and door frames require particular care during removal. The mortar in these areas experiences greater movement stress than elsewhere on the wall because frames expand and contract with temperature changes. When chiselling close to a frame or window edge, use lighter, more controlled strikes rather than heavy blows. The goal is to free the old mortar without catching the brick edges or damaging the frame itself. Any accidental chipping to the brick face at this stage will be visible in the finished result, so taking a little extra time here is always worthwhile.
Step 4: Clean the Joints
With the old mortar removed, use a stiff-bristled brush to work along every joint and dislodge any remaining dust, loose grit, and small debris. People often rush this stage, especially when covering a large area, but the quality of what comes next depends on doing it properly. Even a thin film of dust in a joint can act as a barrier between the brick and the new mortar, preventing a solid bond from forming. Go over each joint at least twice if needed, and take your time to ensure the surface is as clean as possible before moving on.
Step 5: Check the Joints Are Clear
Before mixing any mortar, run your finger or a dry brush firmly along each joint to check for remaining grit or looseness. If anything comes away, continue brushing until the joint feels solid and clean. Once you are satisfied, lightly dampen the joints using a brush and clean water. This step makes a real difference to the final result. Dry bricks are highly absorbent and will draw moisture out of the fresh mortar too quickly, causing it to cure too fast and reducing its overall strength. Damping down the surface slows that process and gives the mortar time to bond properly.
Step 6: Mix the Mortar
Add your pre-mixed sand and cement into a clean bucket, then gradually introduce water while mixing continuously. The finished consistency should be firm and workable. It needs to hold its shape when pressed into a joint without crumbling apart, but it should not be so wet that it sags, slides, or drops out under its own weight. Getting the consistency right takes a little practice, so mix a small test batch first if you are unfamiliar with the process. For properties with older or softer bricks, such as those found on many traditional homes in the Forest of Dean, a slightly weaker and more flexible mortar mix is generally the better choice, as a mix that is too strong can cause the bricks themselves to crack over time.
Step 7: Work from the Top Down
Always start at the highest point of the wall and work steadily downward. The reason for this is straightforward. As you work, dust, loose particles, and small mortar drips will fall downwards. If you start at the bottom, that debris lands on freshly filled joints and contaminates them before they can set. By working from the top, everything that falls lands on sections you haven’t repointed yet, keeping your finished work clean and undisturbed. It also means you can address any minor smears or drips on the brick face below when you reach that section.
Step 8: Fill the Vertical Joints First
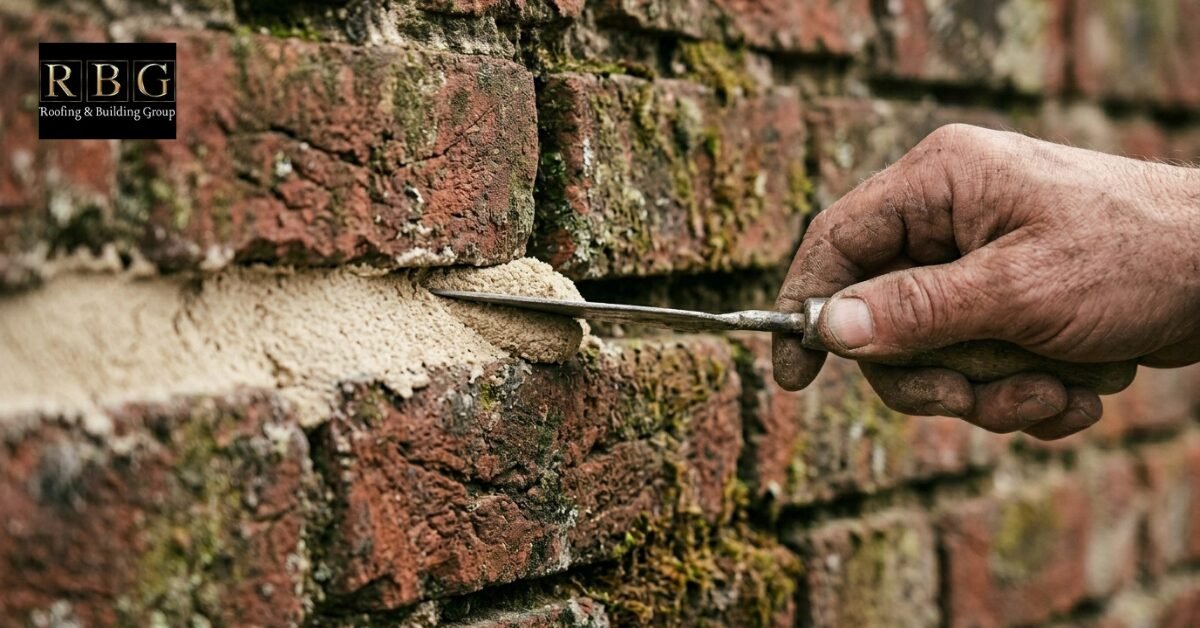
Load your pointing trowel with mortar and press it firmly into the vertical joints, which are known in the trade as perpends. These upright joints sit between individual bricks in each course. Push the mortar in with steady, even pressure, making sure it makes full contact with the brick face on both sides of the joint. Work your way along the section systematically, checking each joint as you go. Any voids or unfilled areas in the vertical joints will let rainwater penetrate directly into the wall, defeating the purpose of repointing.
Step 9: Then Do the Horizontal Joints
Once you’ve filled the vertical joints across your working section, move on to the horizontal bed joints that run along each course of brickwork. Press mortar into these with the same firm, even pressure as before, working from one end of the section to the other. After filling, use a brick jointer or the edge of your trowel to finish each joint’s profile. On most UK properties, the standard finish is either a slightly recessed joint or a weathered profile that slopes slightly to shed rainwater. Try to match the profile of the existing pointing elsewhere on the wall so the finished result looks consistent.
Step 10: Clear Excess Mortar
As you work through each section, keep a soft brush or damp cloth close to hand and remove any mortar smears from the brick faces as you go. Fresh mortar wipes away quickly and easily, but once it begins to harden, it becomes much harder to remove and can leave staining on the brickwork that is hard to shift. This is particularly noticeable on lighter coloured bricks, where any residue tends to show clearly. A few minutes spent cleaning up after each section is much less work than trying to clean the whole wall at the end once the mortar has dried.
Step 11: Final Check
With all joints filled and the brick faces cleaned, walk through the entire section and inspect each joint carefully. Look for voids where mortar has not fully filled the gap, cracks that may have appeared as the mortar began to set, and uneven areas that need tidying. Make corrections while the mortar is still soft and workable. Once you are satisfied that the work is complete and consistent throughout, leave the wall completely undisturbed while the mortar cures. Avoid touching the surface, washing it down, or letting anything contact the fresh joints for at least 24 hours.
💡 Useful Tips for a Better Brickwork Finish
- Don’t work in wet or frosty conditions. Mortar needs a dry day above 5°C to cure correctly
- Dampen joints before applying mortar to prevent too-rapid moisture loss
- Match the mortar to the original. A mix too hard for older bricks can cause cracking
- Work in manageable sections. Don’t mix more mortar than you can use in 30–45 minutes
- Start from the top, keep fresh work clean as you progress downward
- Clean as you go, excess mortar on brick faces is much easier to remove while still fresh
Common Mistakes When Repointing Brickwork
Using the wrong mortar mix
A mix that is too strong for the bricks causes cracking and spalling over time. The mortar should always be slightly weaker than the surrounding bricks to absorb movement without transferring stress into the brickwork itself.
Not removing enough old mortar
Applying new mortar over a shallow bed of old material leaves it with very little to grip. Remove old mortar to a depth of at least 15-20mm to ensure the new mix bonds properly and lasts.
Skipping joint cleaning
Dust and loose debris left inside the joints after removal will prevent the new mortar from bonding to the brick surface. Brush out joints thoroughly and lightly dampen them before applying any fresh mortar.
Working in poor weather
Repointing in cold, frosty, or wet conditions can cause the mortar to fail before it cures. Always work on a dry day with temperatures above 5 degrees Celsius to ensure the mortar sets properly.
Getting the mortar consistency wrong
A mix that is too dry will not fill joints cleanly, while a mix that is too wet will slump and cure weakly. Add water gradually during mixing and test the consistency before applying it to the wall.
Incorrect joint profile
Finishing joints flush or uneven can trap water against the brick face rather than shedding it. A slightly recessed or weathered profile is standard on UK properties and should match the existing pointing on the rest of the wall.
Repointing over active damp
Fresh pointing will not fix a wall with an underlying damp problem. Moisture will continue to break down the new mortar from behind. Resolve any damp issues first, and our damp proofing service can identify and treat the cause before repair work begins.
Working at height without proper equipment
Repointing chimney stacks or upper gable ends without the correct access equipment is dangerous. Roofing experts should always carry out elevated masonry work. Handle all high-level repointing safely.
When Should You Call a Professional?
DIY repointing is perfectly manageable on a small garden wall or low section of brickwork. However, for chimney stacks, high gable ends, or extensive deterioration, professional help is the safer, more reliable option.
At RBG Roofing Ltd, our chimney repair service includes repointing chimney stacks and masonry to keep your chimney structurally sound. If your pointing has deteriorated over a larger area, or if you see signs of damp penetration, our team can assess the damage and carry out the work safely at height. Get in touch for a free, no-obligation quote, and we’ll help your brickwork look sharp and last longer.
Conclusion
Repointing might seem like a small job, but it plays a big role in keeping your brickwork strong and weatherproof for years to come. Left unattended, crumbling mortar can lead to damp, structural damage, and repair bills far higher than the cost of repointing itself. Whether you’re tackling a garden wall, a chimney stack, or the whole side of your property, taking the time to match the mortar, work in the right conditions, and finish cleanly will make all the difference to both durability and appearance.
FAQs
How do you know if brickwork needs repointing?
Look for mortar that is crumbling, cracked, or missing entirely from the joints. Damp patches on interior walls, loose bricks, or visible gaps are all signs that repointing is overdue. Catching it early keeps repair costs down.
How much does repointing brickwork cost?
Costs vary depending on the area’s size, accessibility, and the condition of the existing mortar. Small sections can be tackled as a DIY job for minimal outlay, while larger or elevated areas, such as chimney stacks, are best priced by a professional.
How often does brickwork need to be repointed?
Under normal conditions, mortar lasts around 20–30 years before it needs attention. Properties in exposed locations, or with older lime mortar, may require repointing sooner. Regular inspection every few years helps catch any early deterioration.
