
A leaking chimney is rarely just a roofing problem; it is a threat to your entire home. Water that enters through a damaged chimney can travel silently through walls, ceilings, and timber frameworks, causing damp patches, mould growth, and structural weakening long before the signs become obvious. Many homeowners underestimate how quickly a minor drip can turn into a costly repair job if left without attention.
Identifying the source of the problem early and knowing how to fix a Chimney leak properly can protect both your property and your wallet. Whether the issue stems from failing flashing, deteriorating mortar joints, or a cracked chimney crown, timely intervention stops water from spreading deeper into your home.
This guide covers everything you need to know, from spotting the early warning signs to understanding what a proper repair involves, so you can keep your home dry, safe, and structurally sound all year round.
Common Causes of a Chimney Leak
Before you can fix a chimney leak effectively, it helps to understand what is causing it in the first place. Each of these common problems can cause water to leak into the chimney in different ways, which is why identifying the exact cause is so important before any repair work begins.
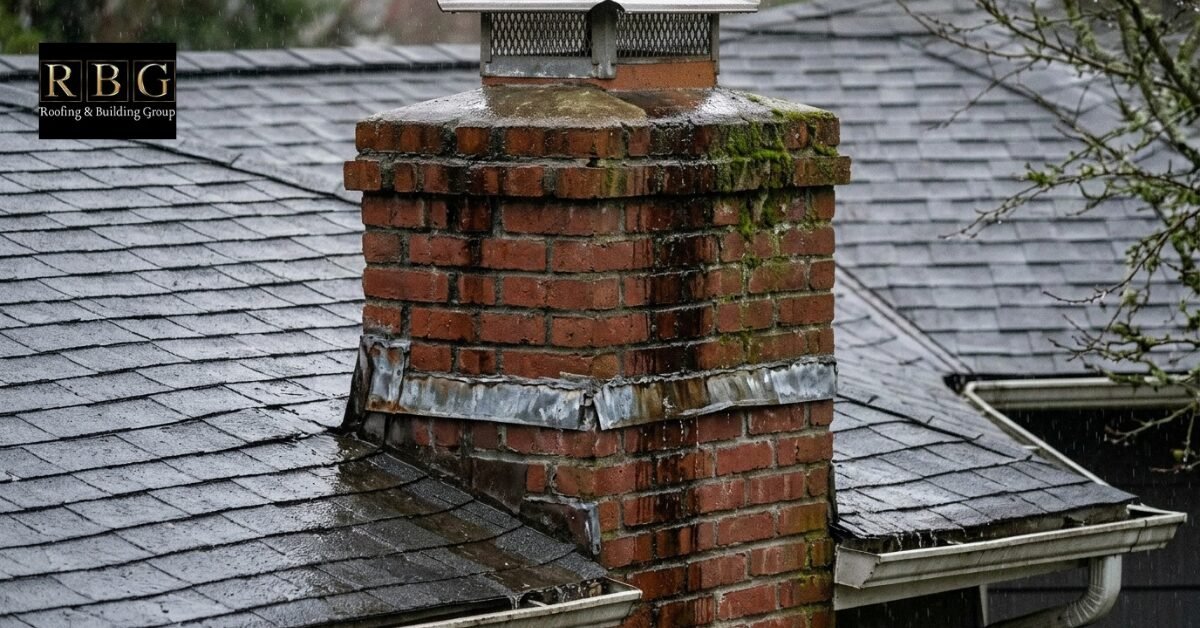
- Damaged flashing. The metal seal between the chimney and the roof can corrode, lift, or pull away over time, allowing rainwater to track straight down behind the tiles.
- Cracked mortar joints. Mortar naturally erodes with age and weathering. Once joints crack or crumble, water gets in, and frost makes the damage progressively worse.
- Broken chimney crown. A cracked or deteriorating crown leaves the top of the stack exposed, allowing rain to fall directly onto the flue and surrounding masonry.
- Missing or damaged cowl. Without a properly fitted cowl, the flue is completely open to rainfall, which pools inside and can seep through into the room below.
Early Warning Signs of a Chimney Leak
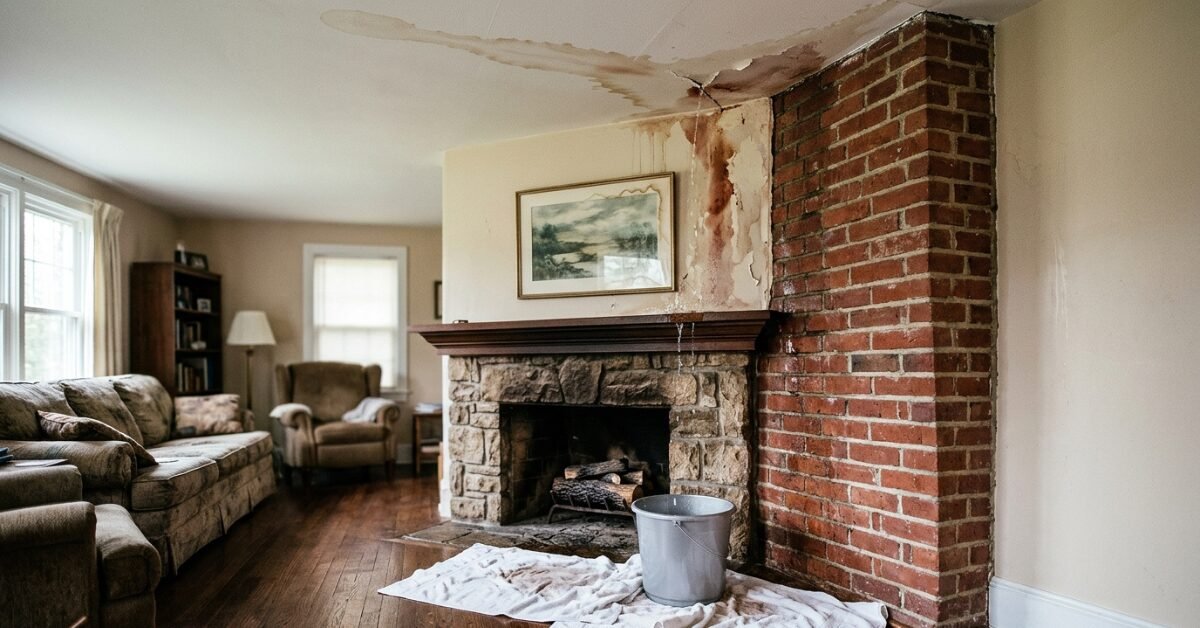
When water leaks inside a chimney, it does not always appear where it enters. It can travel along rafters and timbers before showing up as a damp patch on a ceiling or wall several feet from the actual problem. That is what makes chimney leaks tricky and why knowing where to look matters. Start outside. From ground level, use binoculars to check the chimney stack. Look for:
- Cracks or crumbling in the mortar joints between the bricks
- A cracked or uneven chimney crown
- Flashing that has lifted, buckled, or separated from the masonry
- A missing, damaged, or poorly fitted cowl on the chimney pot
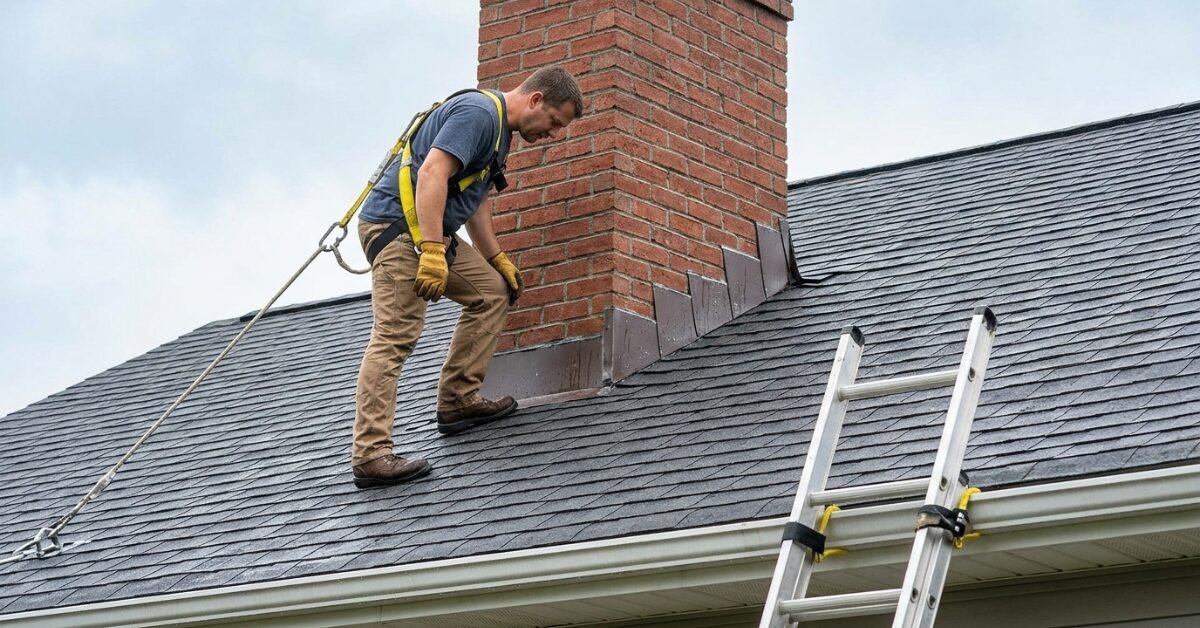
Do not forget to check inside the property too. Damp patches on chimney breast walls, tide marks on ceilings, or a persistent musty smell near the fireplace are all signs your chimney needs attention and should not be ignored. For multi-story chimneys or hard-to-reach areas, using a stable ladder or hiring professional roofing contractors is always the safer option. Early detection makes repairing chimney issues easier, safer, and far less costly in the long run.
How to fix a Chimney Leak: Steps to follow
Once you have identified where the leak is coming from, the next step is getting it fixed properly. Rushing a chimney repair or cutting corners almost always leads to the same problem returning within a year or two. Here is what a proper repair involves, step by step.
Step 1: Clean the Area First
Before any repair work begins, the chimney and the surrounding roof area need to be cleaned properly. Moss, dirt, and debris stop sealants and mortars from bonding correctly. A clean surface also makes it much easier to spot cracks or damage that might otherwise go unnoticed.
Step 2: Repair or Replace the Flashing
If the flashing is more than 20 to 25 years old, full replacement is usually the better option. This will fix chimney leak issues and prevent water from entering the roof-chimney junction for decades to come
Step 3: Repoint the Mortar Joints
If mortar joints are soft, crumbling, or missing, they need to be repointed. This means carefully removing the old mortar to a depth of around 15-20mm and replacing it with a fresh mix suitable for exposed chimney stacks. A slightly flexible mix works better than standard sand-and-cement, which can crack as the structure moves.
Step 4: Fix the Chimney Crown
Small cracks in the crown can be filled with a flexible, waterproof masonry sealant, but only if the crown is still structurally sound. If it has started to break apart, it needs to be rebuilt completely with a sloped profile, so water runs away from the flue opening rather than sitting on top.
Step 5: Fit a New Cowl if Needed
If the chimney pot cowl is damaged or missing, fitting a new one is one of the simplest and most effective repairs you can make. A good cowl keeps rain out, stops birds from nesting inside the flue, and can even improve the draw on a working fireplace.
Step 6: Apply a Protective Coating
Once all repairs are complete, applying a breathable masonry water repellent to the outside of the chimney stack adds an extra layer of protection. Make sure the product is breathable; a non-breathable coating traps moisture inside the brickwork, causing more harm than good. This coating typically needs to be reapplied every 10 to 15 years.
Maintenance Tips to Avoid Chimney Leaks
A chimney that is inspected and maintained regularly will last far longer and cause far fewer problems than one that is ignored until something goes wrong. A little attention each year can save you from expensive repairs down the line. A proper maintenance routine includes:
- Annual visual inspection: Check the stack, crown, and flashing from ground level every year. A pair of binoculars works well for spotting obvious cracks or damage without getting on the roof.
- Thorough inspection every few years. Every three to five years, arrange a more detailed check, especially after a particularly harsh winter or severe weather.
- Act on mortar erosion early. Do not wait for open cracks to appear. If mortar is showing signs of wear, getting it repointed promptly is far cheaper than dealing with water damage later.
- Keep gutters clear. Gutters near the chimney base should be checked and cleared regularly. Blocked gutters cause water to overflow and pond against the masonry, making leaks far more likely.
One thing many homeowners overlook is that chimneys on properties with unused fireplaces still need regular attention. A sealed flue can develop internal condensation if not properly capped, and the stack remains fully exposed to wind and rain, regardless of whether the fireplace is in use. If the fireplace has been out of use for years and you are considering a more permanent solution, you may want to read our guide to removing a chimney breast and what that entails.
When to Call a Professional
Some chimney repairs are straightforward enough for a confident DIYer, but others genuinely require a professional. Knowing the difference can save you time and money and prevent the problem from getting worse.
You should call a professional if:
- The chimney is on a multi-story property. Working at height on a roof is dangerous without the right equipment and experience. A professional has the tools and training to do the job safely.
- The damage is extensive. If large sections of brickwork are crumbling, multiple mortar joints need repointing, or the flashing has completely failed, this is not a DIY job.
- The leak keeps coming back. If you have already attempted a repair and water is still getting in, a professional inspection is needed to find the real source of the problem.
- You are unsure of the cause. Guessing and patching the wrong area wastes time and money. A professional can pinpoint exactly where the water is entering.
- The chimney is shared. If your chimney serves more than one property, any repairs must be handled professionally to avoid disputes or further damage.
Attempting a repair without the right knowledge or equipment can make the problem worse and may also affect your home insurance cover. If you are weighing up whether to go DIY or professional, it helps to understand the typical chimney repair costs in the UK before making a decision.
If you would prefer an expert to take a look, our trusted roofers in Forest of Dean carry out chimney inspections, flashing replacements, repointing, and full stack repairs. Get in touch for honest advice and a no-obligation quote.
Conclusion
Addressing a chimney leak early is always the better option. The longer water is allowed to work its way into a building, the more widespread the damage becomes and the more expensive the eventual repair. The practical steps are simple: inspect each autumn, address mortar wear promptly, keep gutters clear, and ensure your cowl and flashing are sound. A chimney that gets a little attention each year will rarely cause serious problems. One that is ignored almost always will.
If you have spotted signs of water ingress around your chimney, arrange an inspection sooner rather than later. It is the most straightforward way to protect your home.
