Insulating a flat roof is one of the best ways to improve energy efficiency, reduce heating bills, and keep your home or building comfortable all year. But most people don’t know how to do it or which method to use.
As a roofing company with years of experience, we have shared a step-by-step guide to help you understand how to insulate a flat roof using both the warm roof and cold roof methods.
Choose the Type of Insulation Method
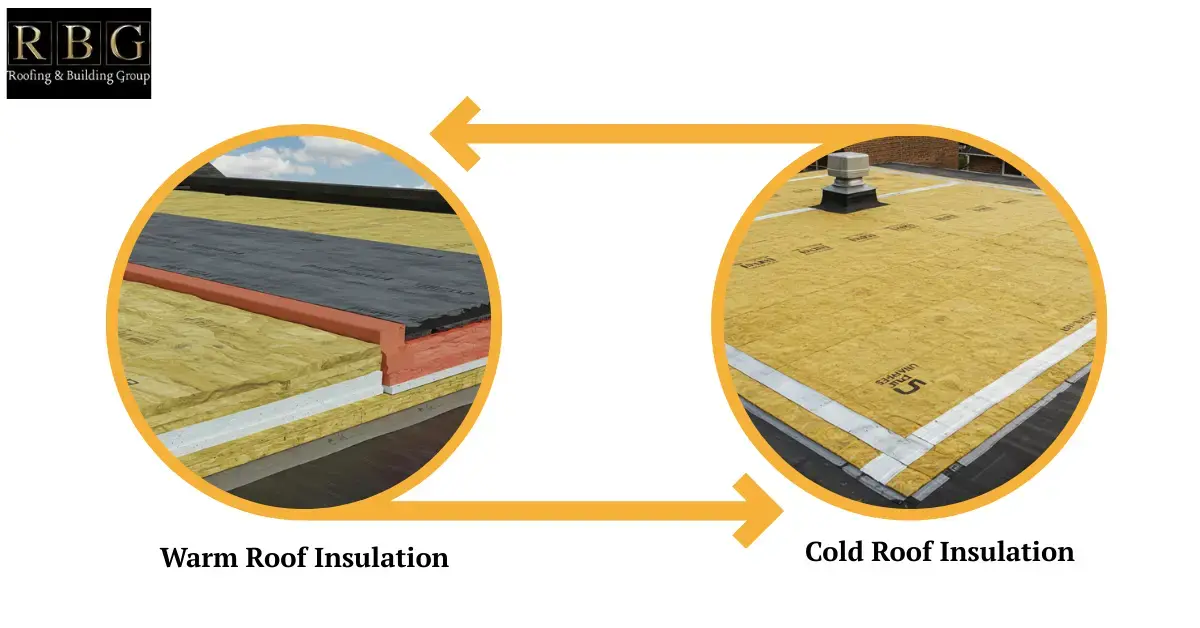
Before you insulate your flat roof, choose the type of insulation you want, because selecting the wrong type can cause damp problems and waste your money. These are the two most common methods to insulate a flat roof:
Warm Roof Insulation
This is the most effective method. The insulation goes on top of the roof deck, just below the waterproof layer. It keeps the entire roof structure warm, which helps prevent cold spots and stops condensation from forming. It’s great for energy savings and overall comfort.
Cold Roof Insulation
Here, the insulation is placed under the roof deck and inserted between the ceiling joists inside the building. It’s a cheaper option, but it needs really good ventilation. Otherwise, moisture can build up and cause damp or mould.
Tip: If you’re planning a roof renovation or new build, a warm roof system is usually the better long-term choice. For quick fixes or smaller budgets, cold roof insulation can work, just be sure you have proper airflow.
Gather the Right Materials and Tools
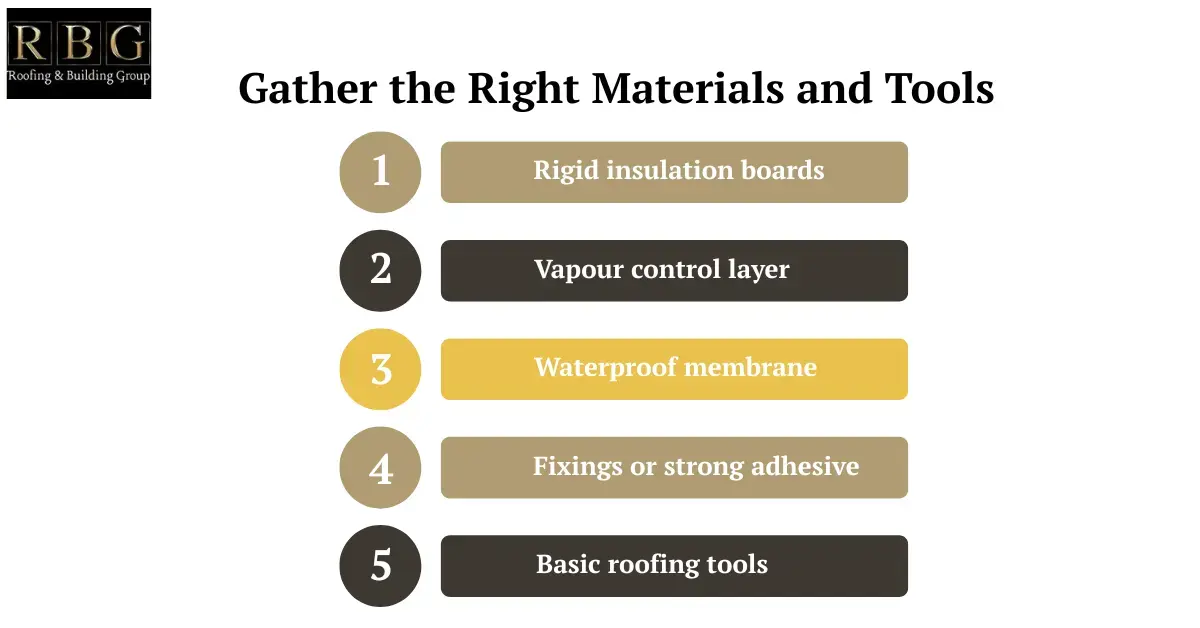
Before you start insulating your flat roof, make sure you’ve got everything you need
- Rigid insulation boards: Choose PIR, PUR, phenolic boards or plasterboards.
- Vapour control layer: This helps stop moisture from getting trapped and causing damp problems.
- Waterproof membrane: Choose from EPDM rubber, roofing felt, or single-ply membrane to keep the roof dry and weatherproof.
- Fixings or strong adhesive: To securely attach the insulation boards to the roof surface.
- Basic roofing tools: Like a saw (for cutting boards), screws, drill, sealant, and a measuring tape.
Always check your local building rules to see how thick your insulation needs to be; most homes need at least 100–150mm for good energy performance.
How to Insulate a Flat Roof from the Outside? (Warm Insulation Method)
1- Clean the Roof Surface
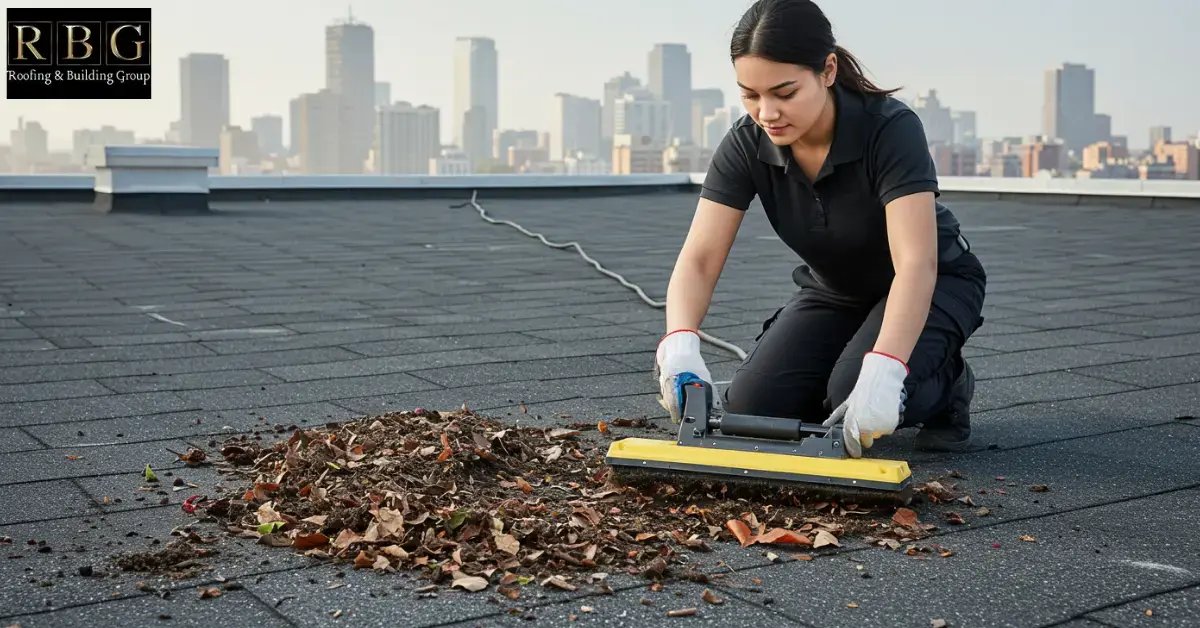
Remove any dirt, leaves, and other debris that have gathered on the roof. If you’re replacing an old roof, carefully remove any old waterproofing layer, such as old felt, EPDM, or any bitumen layers. Use a roofing shovel or scraper for this. Once cleaned, make sure the roof deck is flat and smooth. If there are any bumps, holes, or imperfections, you might need to repair these spots before proceeding so that the new layers will adhere properly and last longer.
2- Lay Down the Vapour Control Layer
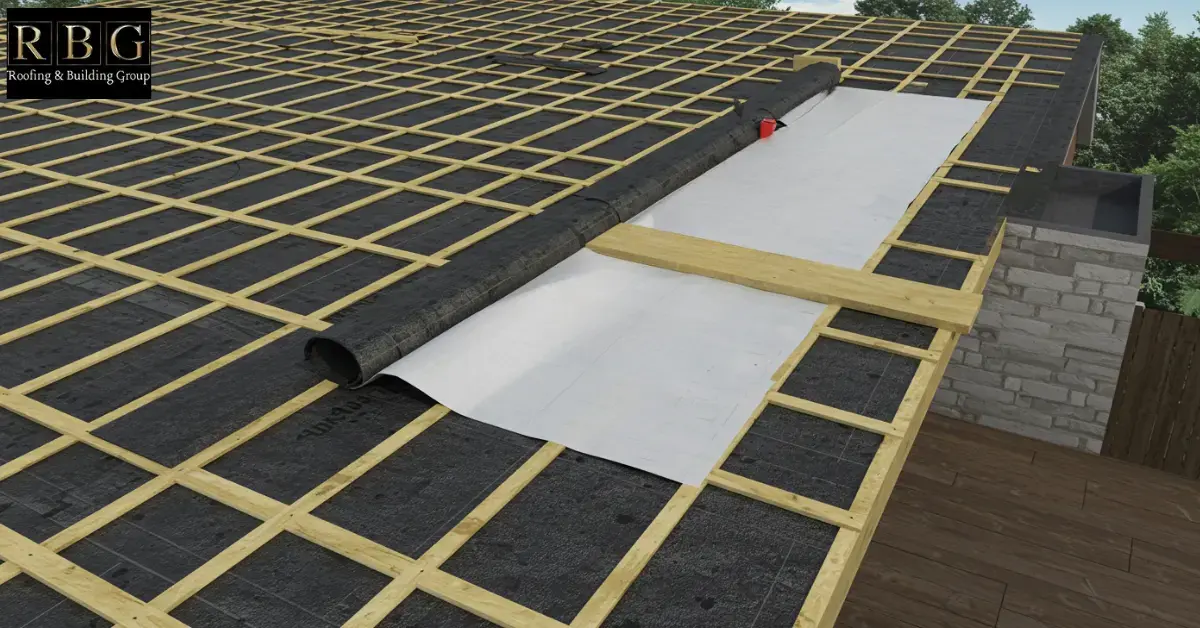
The vapour control layer (VCL) is an important part of preventing moisture buildup in your roof. Follow these steps to install it:
Unroll the vapour control layer directly over the clean roof deck. Make sure the layer is smooth and free from wrinkles or air pockets. If you’re using a sheet-style vapour barrier, make sure the seams overlap by about 100mm (4 inches). This will make a tight seal between the pieces.
Depending on the material used, you can secure the VCL with roofing nails or a suitable adhesive. To keep the VCL in place, be sure the fasteners are spaced evenly along the edges. If the VCL material requires sealing, use a suitable tape or adhesive to join the seams tightly. This will prevent any moisture from getting through the joints.
3- Install the Insulation Boards
Now that the vapour barrier is in place, it’s time to lay down the insulation boards. Here’s how:
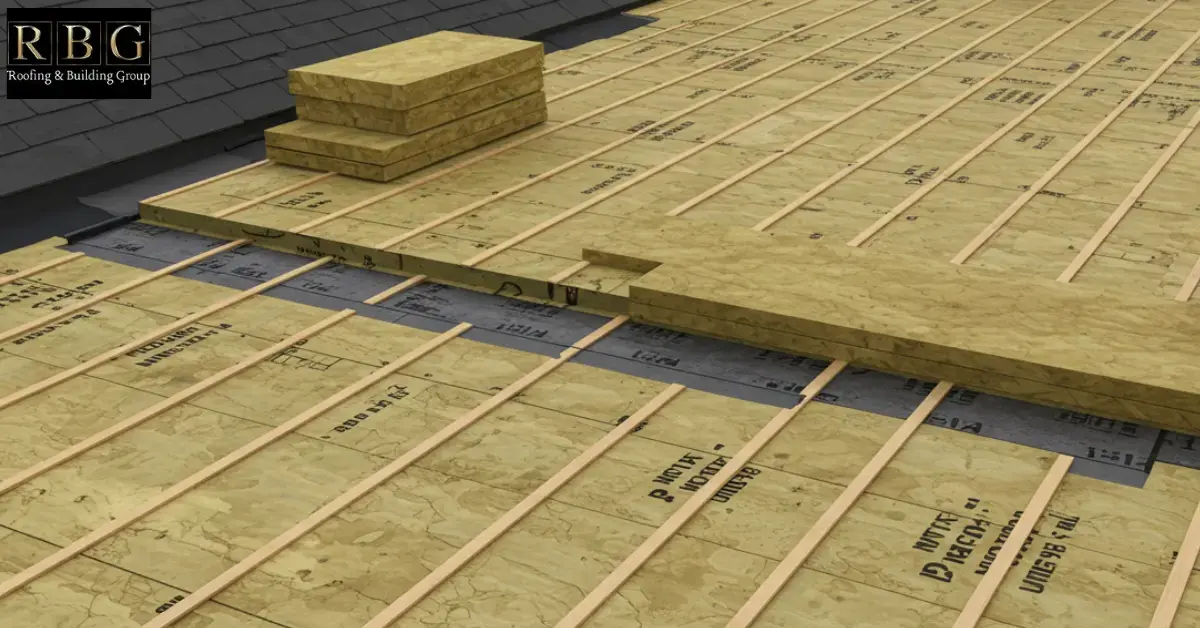
Use rigid insulation boards such as PIR, PUR, or phenolic boards. These materials provide excellent thermal insulation and are perfect for a warm roof build.
Start by laying the insulation boards side by side across the roof deck. Arrange the seams between boards, like a brick wall, to reduce heat loss and improve stability. However, depending on your roof type, you may need to use screws or a strong adhesive to secure the insulation. If using screws, drill them into the boards at regular intervals, and make sure they go deep enough to secure the insulation to the roof deck.
Also, you may need to cut the boards to fit around corners or vents. For that, use a sharp saw or insulation cutter to make clean cuts for a perfect fit.
4- Add the Waterproof Membrane
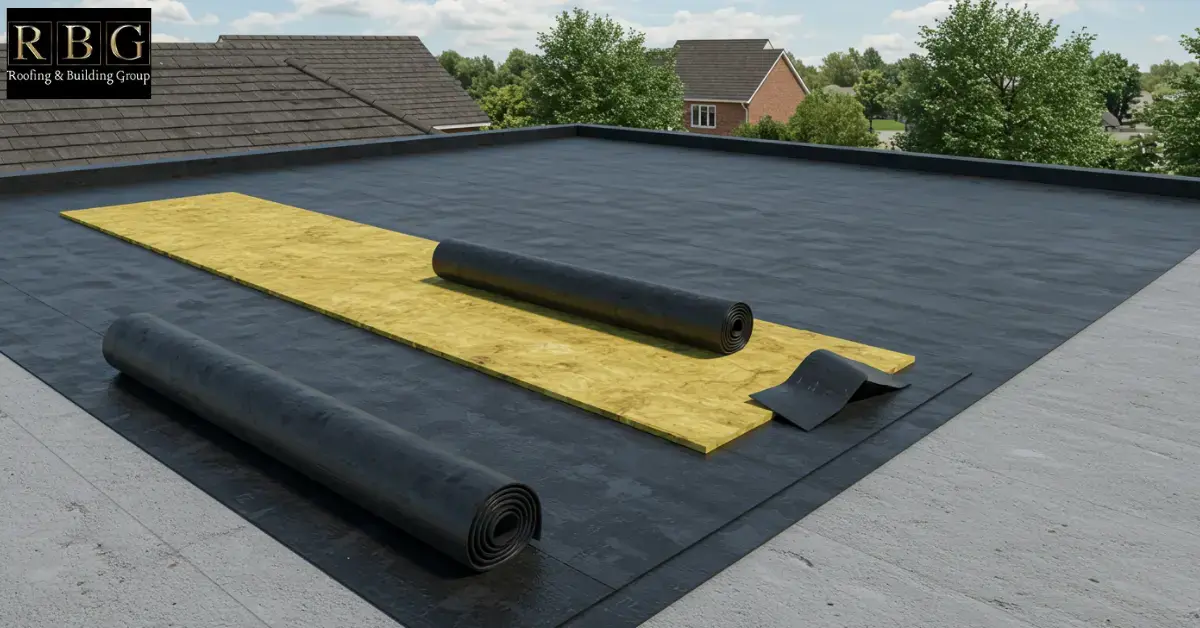
Once the insulation is secure, it’s time to protect it with a waterproof membrane. Choose a suitable membrane like EPDM, bituminous felt, or a single-ply membrane. Each type has its benefits, so pick one that suits your climate and roof type.
Start at one end of the roof and unroll the membrane across the insulation. Leave a little extra overhang on all edges so you can trim it later for a perfect fit. If the membrane consists of multiple sheets, overlap the seams by at least 100mm (4 inches). Use roofing adhesive or heat welding to seal the seams together, and make sure there are no gaps.
5- Seal All the Edges
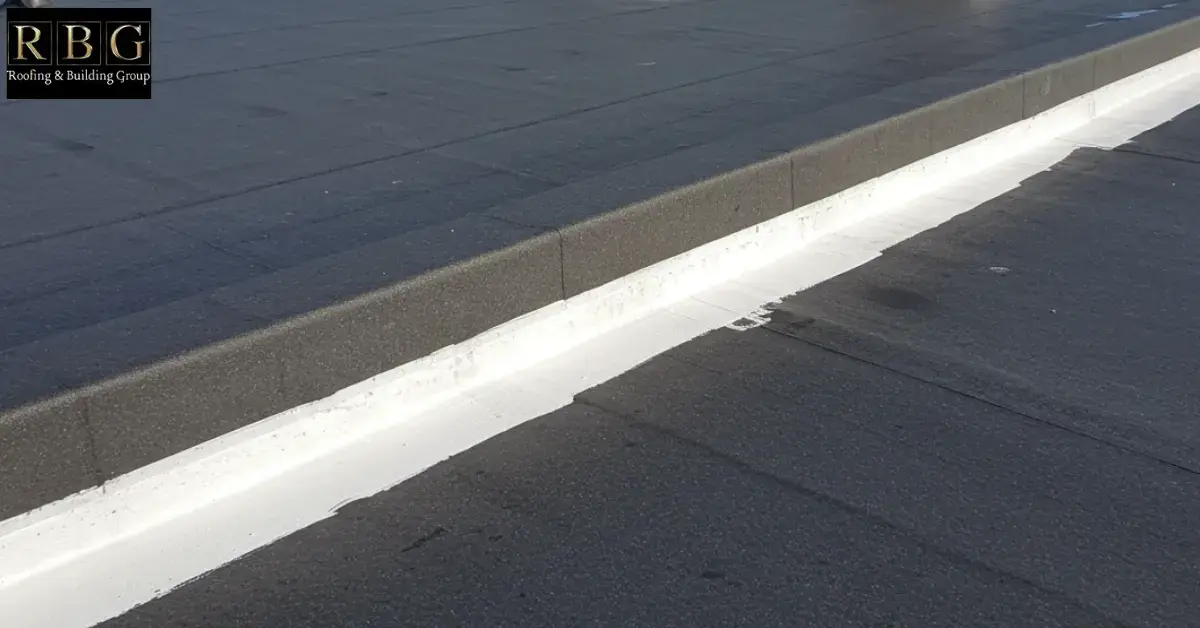
The edges and corners of the roof are often the most vulnerable areas for leaks. To seal them properly, apply a high-quality roofing sealant along all the edges where the membrane meets the roof deck or walls. This includes corners, penetrations (vents, chimneys), and any other gaps. You can also install metal flashing around vents or pipes for extra protection. Pay extra attention to the areas where the membrane overlaps or where different materials meet.
If you’re looking for reliable roofing services in the Forest of Dean, get in touch with our expert roofers for a free, no-obligation estimate
How to Insulate a Flat Roof From Inside? (Cold Insulation Method)
The Cold Roof Method is ideal when you can’t access the top of the roof and need to insulate from below. This method is often cheaper and simpler, but requires proper ventilation to avoid issues like dampness or mould. Here’s how to do it:
1- Access the Roof Space
To begin the insulation process, you’ll need to access the space between the ceiling and the roof, which is the “roof void” or attic space.
First, carefully remove the ceiling panels or boards to expose the gap between the ceiling and the roof. This will allow you to work inside the building and install the insulation between the roof joists. Before you start insulating, check the condition of the roof void for any potential issues like leaks, mould, or water damage. You need to make sure that the space is clean and dry before moving forward.
Make sure to wear proper safety gear (gloves, goggles, mask) while working in the void to protect yourself from dust and debris.
2- Fit the Insulation Between Joists
The next step is to install insulation between the roof joists to prevent heat loss and reduce energy consumption.
Use rigid foam board insulation, mineral wool, or fiberglass batts. These materials are great for insulating and are commonly used in cold roof systems.
Then, measure the distance between the roof joists and cut the insulation to fit between them. Make sure the insulation fills the gaps completely without leaving any spaces or holes.
Also, leave a small gap above the insulation, at least 50mm (2 inches). This gap allows airflow and helps to prevent condensation from building up, which can cause mould growth.
3- Install a Vapor Barrier
To protect your insulation and prevent condensation from forming in the roof void, you need to install a vapor control layer.
Roll out the vapor barrier across the underside of the roof joists. Securely attach it along the edges of the joists to hold it in place.
Make sure that the seams of the vapor barrier overlap by at least 100mm (4 inches). This will prevent warm and moist air from entering the cold roof space and reduce the risk of condensation and mould.
Use tape or sealant to seal the edges and seams of the vapor barrier, and make sure there are no gaps or holes. This will create a tight seal that keeps moisture from entering the insulation.
4- Install Ceiling Boards
After the insulation and vapor barrier are installed, you can proceed to install new plasterboard or ceiling panels over the joists. Secure the boards with nails or screws, and carefully fit them against the joists. After the boards are secured, you can finish the ceiling with paint or other finishing touches as required.
Conclusion
Proper flat roof insulation can save money, protect your building, and make your indoor environment far more comfortable. Whether you choose a warm or cold roof, always plan the installation carefully, choose the right materials, and follow moisture control practices. With proper insulation for flat roof systems, your home or commercial space can stay efficient, dry, and cozy for years. However, if you are still unsure, we recommend that you hire professional roofers in Hereford to do this job.
FAQs
1. How much does it cost to insulate a flat roof?
The cost to insulate a flat roof typically ranges from £40 to £60 per square metre, depending on the type of insulation, roof size, and complexity of installation. Warm roof systems usually cost more than cold roof options.
2. What is the best insulation for a flat roof?
Polyisocyanurate (PIR) and extruded polystyrene (XPS) are considered the best insulation for flat roofs due to their excellent thermal performance, moisture resistance, and durability.
3. Can I insulate an existing flat roof?
Yes, you can insulate an existing flat roof using either the warm roof (from above) or cold roof (from below) method, according to your access and budget.
4. How long does flat roof insulation last?
Quality insulation materials like PIR boards can last 30–50 years or more when installed properly and protected from moisture.

