EPDM (Ethylene Propylene Diene Monomer) rubber roofing is a popular choice for flat roofs, especially on commercial buildings. It’s strong and flexible. But installing it takes more than just laying down some rubber sheets. You need to prepare the surface, use the right tools, and follow each step carefully.
If you’re planning to install EPDM roofing yourself or thinking about hiring a roofing company, understanding the process can help you avoid mistakes, reduce long-term costs, and get the best results.
Getting Ready for Installation

Before you start, you need to prepare the roof. This step is very important. If the surface isn’t clean, flat, or properly insulated, the membrane won’t stick properly, which can lead to leaks. Proper flat roof insulation can prevent heat loss and water damage over time.
1. Remove Old Materials
If there’s anything on the roof already, like old shingles or tar, it must come off. EPDM needs a smooth, clean surface to stick to. Leaving old layers underneath can cause bumps, poor sealing, or damage later.
2. Clean the Surface
Once the roof is transparent, make sure it’s clean. Sweep off any dirt, dust, leaves, or grease using a broom or vacuum. If there’s any oily spot, use a cleaner.
3. Check for Level and Drainage
Make sure the roof doesn’t have low spots where water can collect. If it does, add material to build those areas up or fix the drainage. Standing water can shorten the life of your roof.
Tools and Materials You’ll Need
Before you start installing, gather all the necessary items in one spot so you’re not searching for tools in the middle of the process. Here’s what you’ll need:
- EPDM membrane – the main rubber sheet
- Bonding adhesive – glue that sticks the rubber to the roof
- Drip edge and battens – to guide rain into the gutters
- Seam tape or pressure-sensitive flashing – seals the edges and corners
- Silicone sealant – blocks water from seeping under the membrane
- Paint roller – for spreading the glue
- Utility knife or scissors – for trimming the rubber
- Push broom or roller – to press out air bubbles
Having all this ready will make the job go smoother and faster.
How to Install EPDM Roofing: Step-by-Step Guide
Installing EPDM roofing requires careful preparation and attention to detail to ensure a long-lasting, watertight finish. Follow these clear and simple steps to complete the installation with confidence.
Step 1: Fully Adhered System
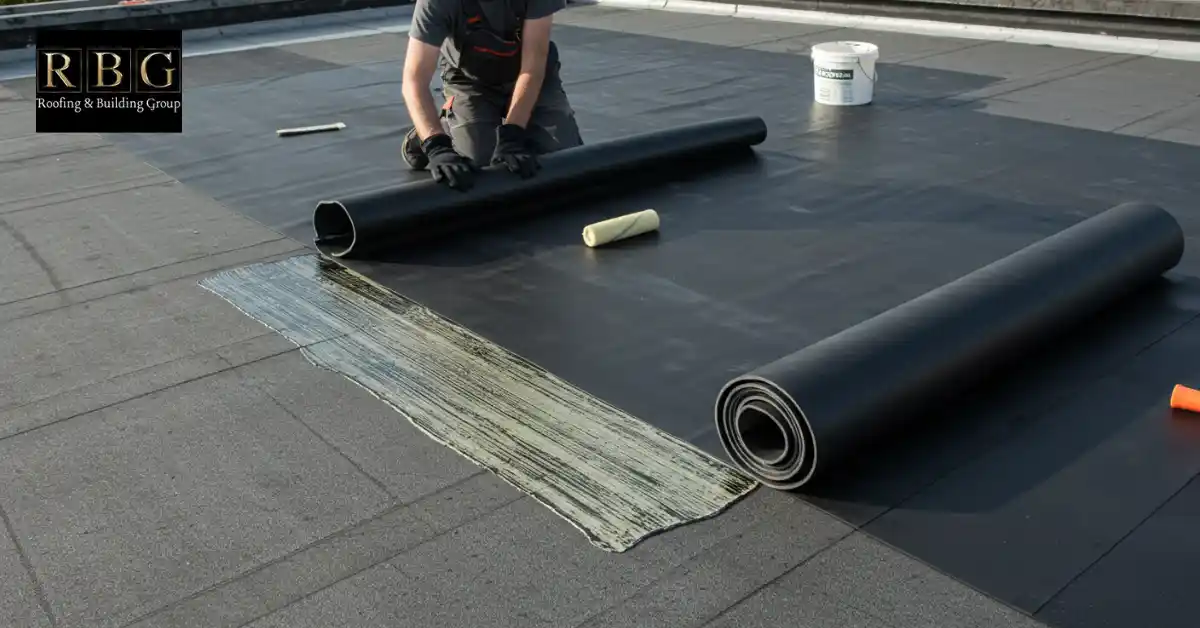
This method involves glueing the EPDM sheet directly to the roof deck using adhesive.
Step 1: Measure and Unroll the Rubber Sheet
- Roll out the EPDM membrane over your roof to check the size.
- Let it rest for about 30 minutes so it lies flat. This helps remove creases.
Step 2: Fold Back Half of the Sheet
- Carefully fold one half of the rubber sheet back so you can work on the exposed decking underneath.
Step 3: Apply Water-Based Adhesive
- Using a paint roller or brush, spread adhesive evenly onto the roof deck, not on the rubber.
- Wait a few minutes until the glue feels tacky.
Step 4: Stick Down the Rubber
- Slowly fold the EPDM sheet back onto the glued surface.
- Use a broom or roller to press it down, working out air bubbles as you go.
Step 5: Repeat for the Other Half
- Fold back the other side and repeat the glue-and-press process.
If you need expert roofing support in Forest of Dean or surrounding, feel free to contact RBG Roofers or call us directly at 07304 082599.
Step 2: Contact Adhesive for Edges and Upstands
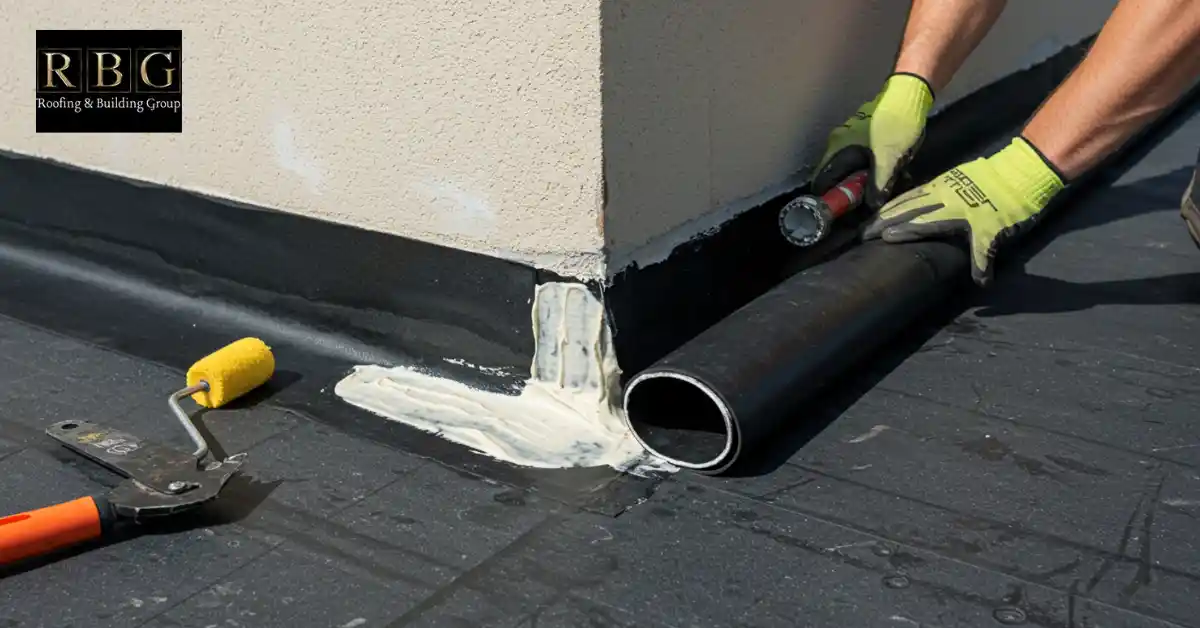
Water-based glue can’t hold well on vertical surfaces or edges, so we switch to contact adhesive here.
Step 1: Apply Contact Adhesive to Both Surfaces
- Spread the adhesive on the roof edge (or wall) and the matching part of the rubber membrane.
Step 2: Wait for Tackiness
- Let the glue dry for 5–10 minutes until it’s tacky to the touch.
Step 3: Press the Rubber into Place
- Carefully press the rubber sheet into position.
- Smooth it down firmly with your hands or a roller, especially around corners.
Step 3: Trimming the Edges
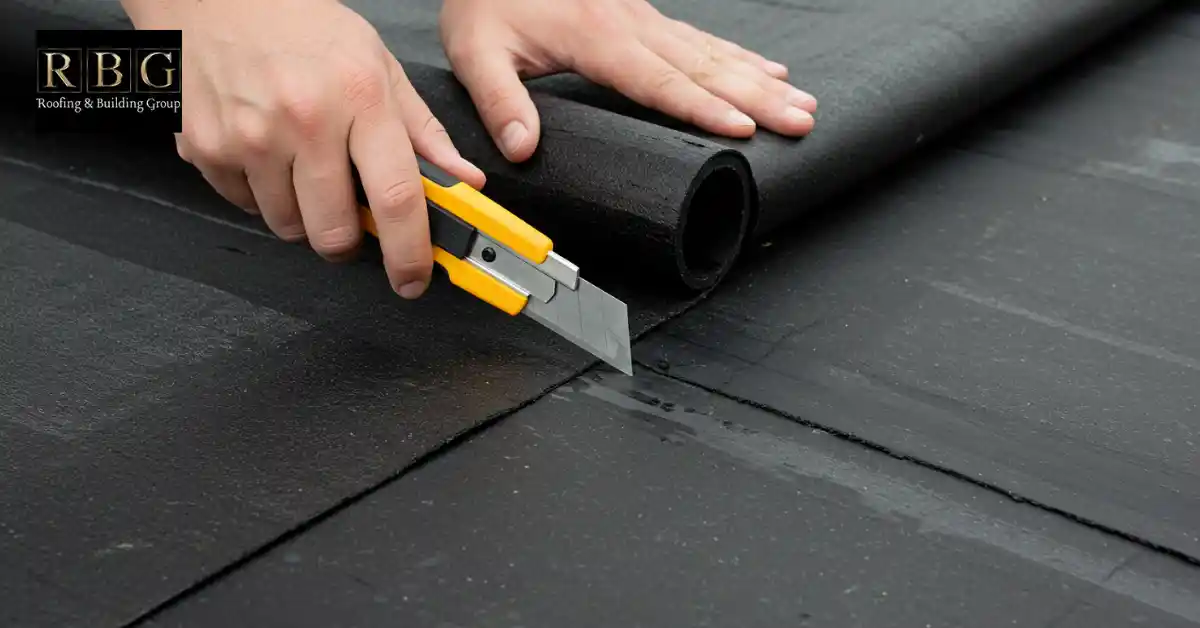
Step 1: Let the Rubber Set for a Bit
- Give it a few minutes to grip before trimming, so it doesn’t shift.
Step 2: Use a Sharp Knife or Scissors
- Cut off extra rubber around the edges, vents, and corners.
- Be careful not to leave gaps or pull the rubber loose.
Step 4: Sealing Around Pipes, Vents, and Corners
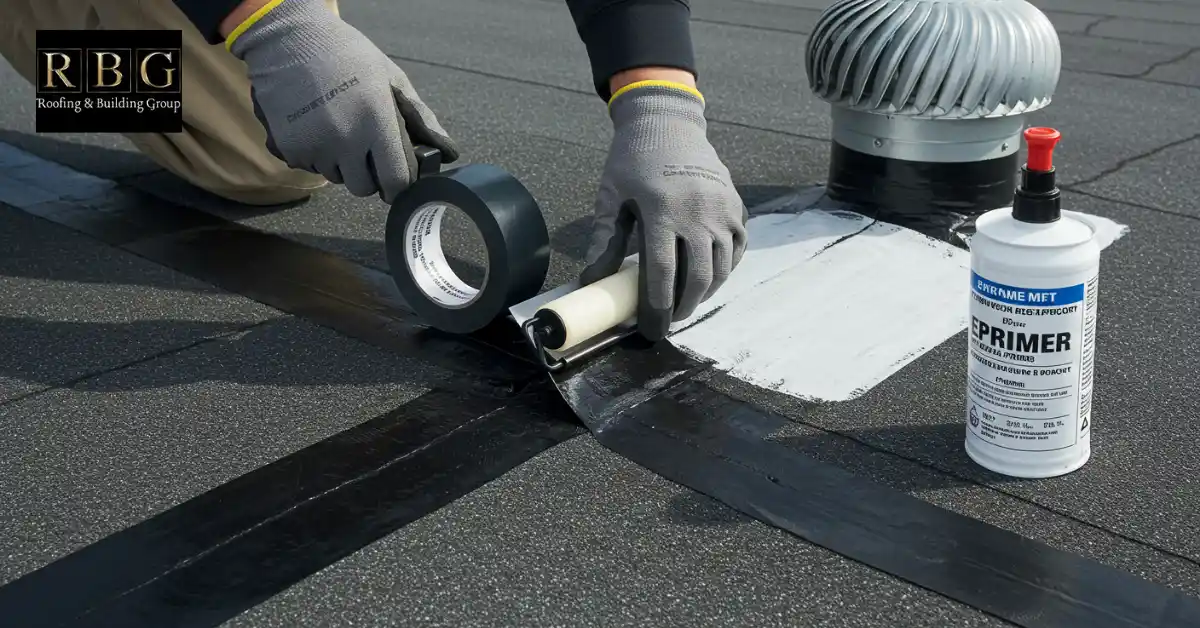
Use EPDM primer and flashing tape to make these parts watertight.
Step 1: Clean the Area
- Wipe the rubber surface where the flashing tape will go.
Step 2: Apply Primer
- Use a brush or pad to spread primer on the area and let it dry (5–10 minutes).
Step 3: Stick the Flashing Tape
- Place the tape over the area and press it down.
- Use a roller to smooth out the surface and remove any air pockets.
Step 5: Final Inspection
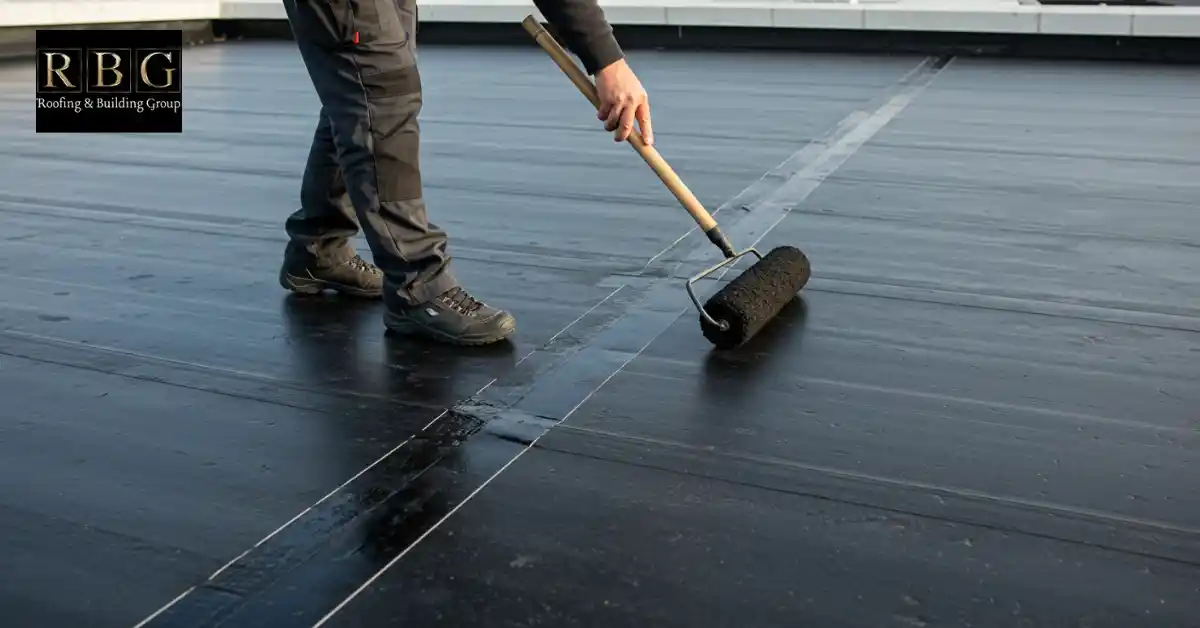
Step 1: Walk the Roof
- Look for bubbles, missed corners, or loose edges.
Step 2: Press Everything Down Again
- Use a roller or your hands to go over seams and edges.
Step 3: Clean Up
- Wipe away any leftover glue. Trim any rough edges.
How Much Does EPDM Roofing Cost in the UK?
The price for installing EPDM roofing can range from $4.50 to $15 per square foot. Here’s what affects the cost:
- Size of your roof – Bigger roofs cost more.
- Installation method – Fully adhered systems usually cost more than ballasted systems.
- Labour – Skilled contractors may charge more, but you get better results.
- Weather conditions – Working in very hot or rainy weather can raise costs.
To protect your investment, apply a roof coating after installation. This adds a protective layer, helping your roof last even longer.
Conclusion
EPDM roofing is a solid option if you want something tough, low-maintenance, and built to handle the weather. Whether you’re using adhesive, fasteners, or ballast, the most important part is doing the job right from the start, with a clean surface, quality materials, and proper sealing.
It’s a great choice for flat roofs. If you’re starting a new roofing project, consider getting advice or support from a professional roofing company. A well-installed EPDM roof can help you avoid costly repairs and give you long-term peace of mind.
FAQs
How long does an EPDM roof last?
An EPDM roof can last between 25 and 30 years, and sometimes even longer with good care. It’s made from strong rubber that doesn’t crack or wear out quickly. Just make sure to keep it clean and address any small issues promptly.
Does EPDM roofing work in all weather?
Yes, EPDM performs well in harsh weather conditions. It can stand up to hot sun, heavy rain, snow, hail, and even strong winds. That’s one reason it’s often used on commercial flat roofs; it doesn’t crack or peel when the weather changes.
How do I fix a leak in an EPDM roof?
Most small leaks are easy to patch. First, clean the damaged area, then use a rubber patch and adhesive made for EPDM. Press it down firmly and let it set. For bigger leaks or damage, it’s better to call a roofer to make sure the fix lasts. You can check out more detailed steps on how to fix a leaking flat roof.
Is EPDM roofing expensive?
EPDM is one of the more budget-friendly options for flat roofs. The price depends on how big your roof is, how it’s installed (glued, fastened, or with gravel), and where you live. It’s cheaper than many other roofing types and lasts a long time, so it’s good value for money.

