If you find a tear, hole, or crack in the roof felt inside your loft, don’t ignore it. Even minor damage can allow water to enter, causing dampness and potentially leading to more extensive repair costs. Learning how to repair a roof felt from the inside can help protect your home and prevent problems from worsening.
Indoor felt roof repair is often performed when working outside is unsafe or the weather conditions are too severe. A patch repair from inside won’t last forever, but it can stop leaks, limit damage, and buy you time before a complete repair or replacement is needed.
This guide walks you through every step of repairing the roof felt from the inside. You’ll learn how to prepare the area, fit a roof felt patch, seal it in place, and check your work. We’ll also share common mistakes to avoid and signs that you should call a professional roofer.
Checking and Assessing the Damage
Locating the Exact Problem Area
Enter the loft and examine the felt layer beneath the roof tiles. It is usually black or grey. Inspect for tears, holes, or areas where the felt has separated from the surface. After rain, you may notice damp patches or water droplets on the ground. Trace the wet area to its highest point to determine where the water is entering. Mark the spot with chalk or tape so you can easily locate it during the repair.
For more detailed steps on finding roof leaks, check out this guide on locating roof leaks.
Determining If It’s a Minor or Major Issue
Small holes, short tears, or light damp can often be fixed with a simple patch from the inside. Larger gaps, multiple leaks, or damage near joints may require the replacement of an entire section. If the damage is wide or you see signs of rot in the timber, it’s best to call a professional roofer. Acting quickly will prevent the problem from worsening and protect the rest of the roof.
Step-by-Step Guide to Repairing Roof Felt from Inside
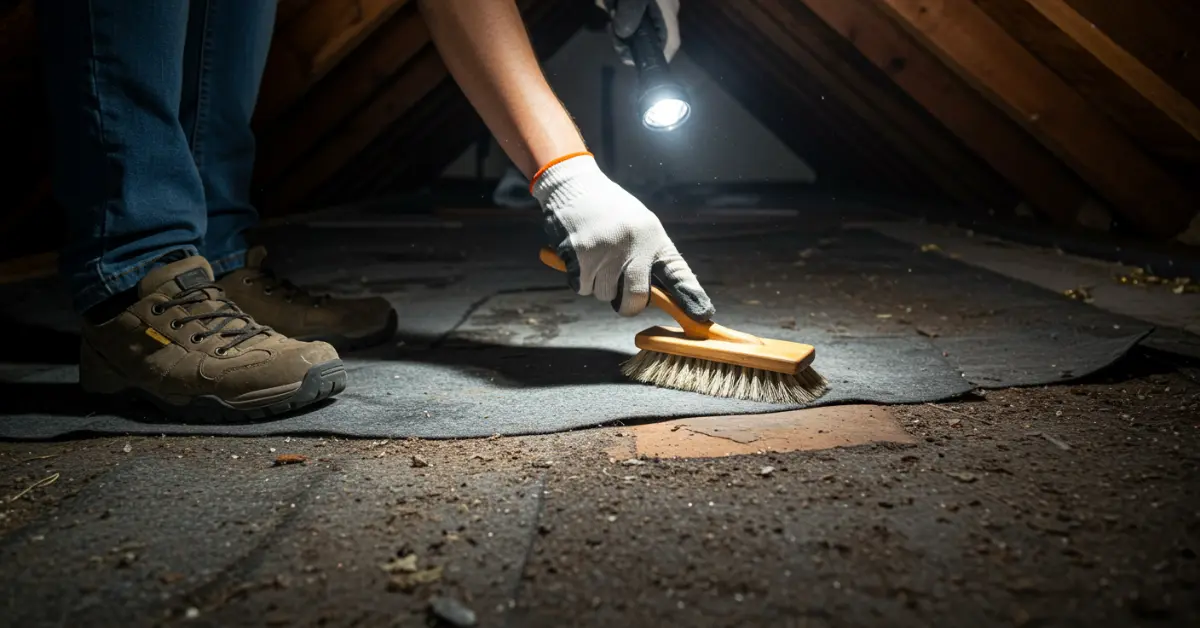
1. Clear Dust and Loose Debris
Before starting any roof felt repair from inside, ensure your loft or attic is safe to enter. Wear gloves, sturdy shoes, and eye protection.
Shine a flashlight over the damaged area and gently remove dust, cobwebs, or loose fragments with a clean cloth or soft brush. If the felt is damp, blot it dry and leave it to air out; adhesive won’t stick to wet surfaces.
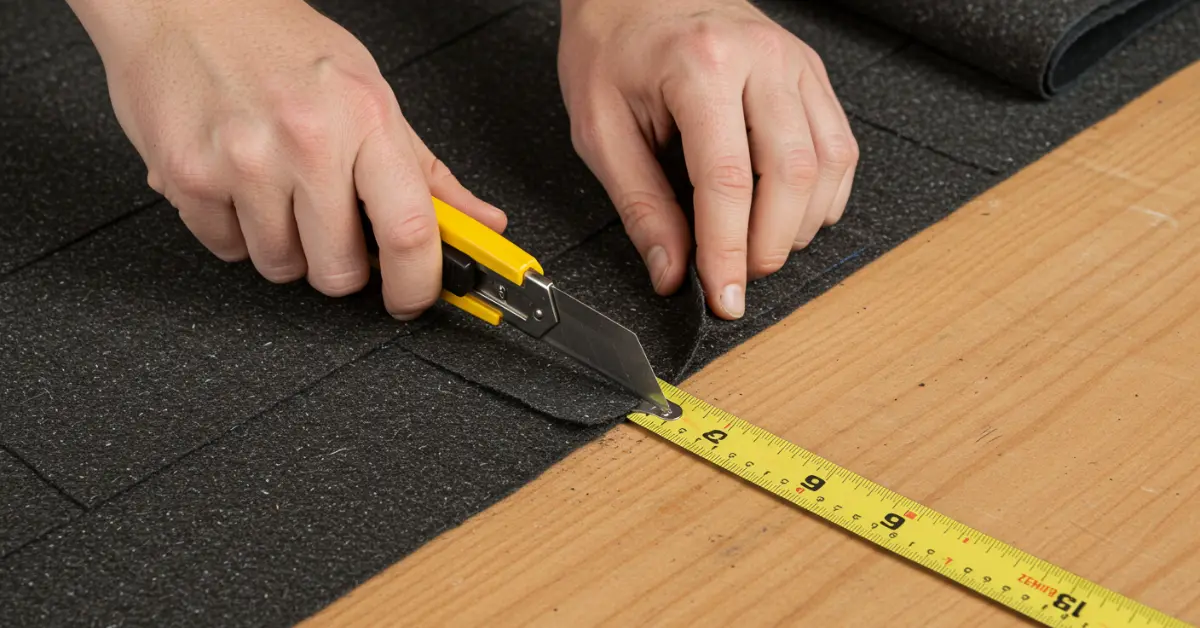
2. Cut and Shape a Felt Patch
Measure the damaged spot, then cut a new piece of roofing felt at least 2–3 inches larger on all sides. This overlap will give the patch a strong, lasting hold.
Use a utility knife or sharp scissors to cut clean, straight edges. A well-shaped patch makes sealing easier and prevents peeling later.
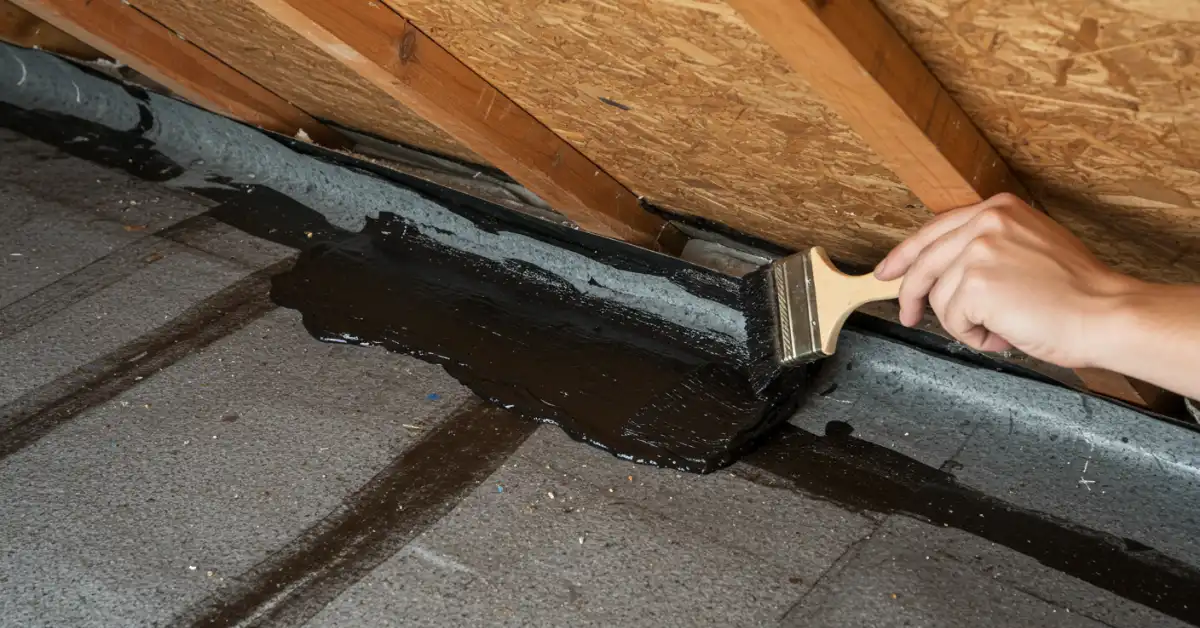
3. Apply Adhesive Evenly
Brush or roll roofing adhesive, bitumen, or felt glue onto both the damaged section and the underside of your patch. Spread it evenly thick enough to bond, but not so much that it drips.
Extend the adhesive slightly beyond the damaged area to create a complete waterproof barrier.
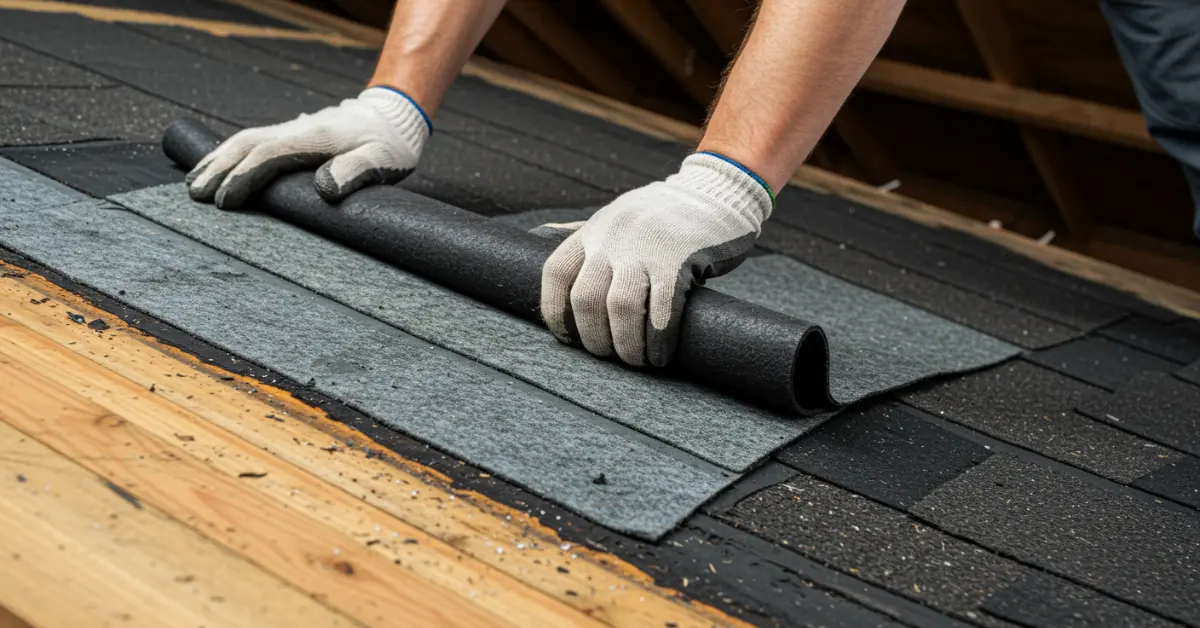
4. Fix the Patch in Place
Position the patch carefully over the damaged felt, pressing from one side to the other to avoid trapping air.
Once in place, press firmly across the entire surface with your hands (wear gloves), a roller, or a flat tool to ensure solid contact.
5. Seal the Patch Edges
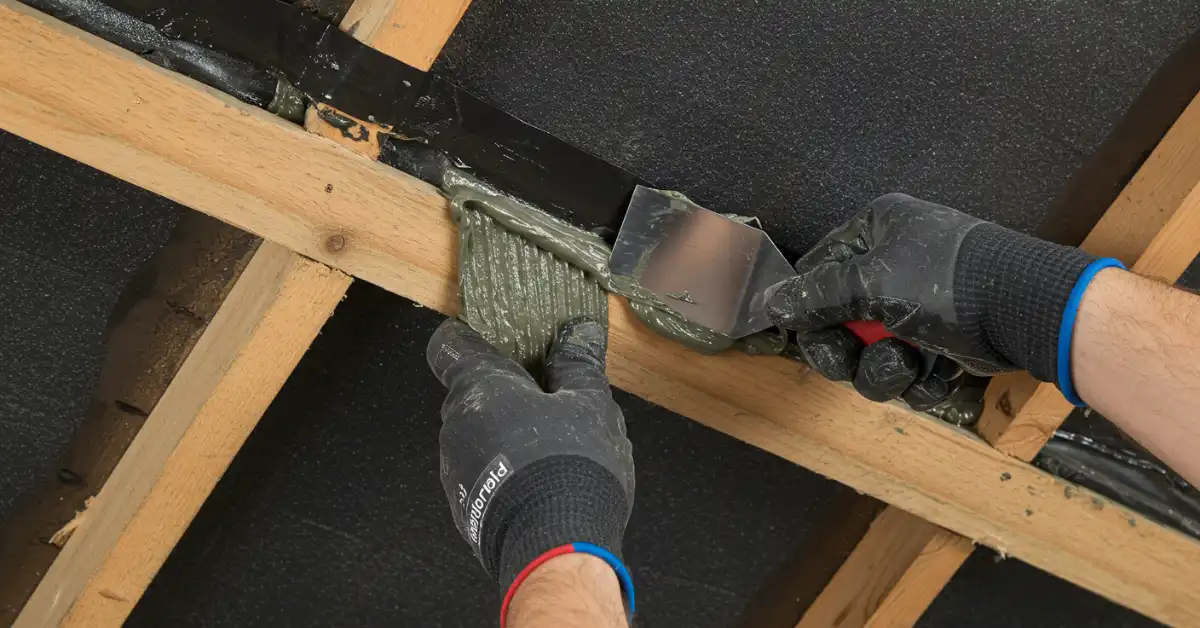
Apply an extra layer of adhesive or roof sealant around the edges to ensure a secure seal. This is vital for leak prevention; without it, rainwater can creep under the patch.
Smooth the sealant with a spatula or your gloved finger for a neat, watertight finish.
6. Let It Dry and Inspect the Repair
Follow the drying time indicated on your adhesive’s packaging, which is usually several hours. Avoid disturbing the patch until it is fully cured.
Once dry, check for lifted edges, missed adhesive spots, or visible gaps. During the next rainfall, inspect the inside for any sign of leaks.
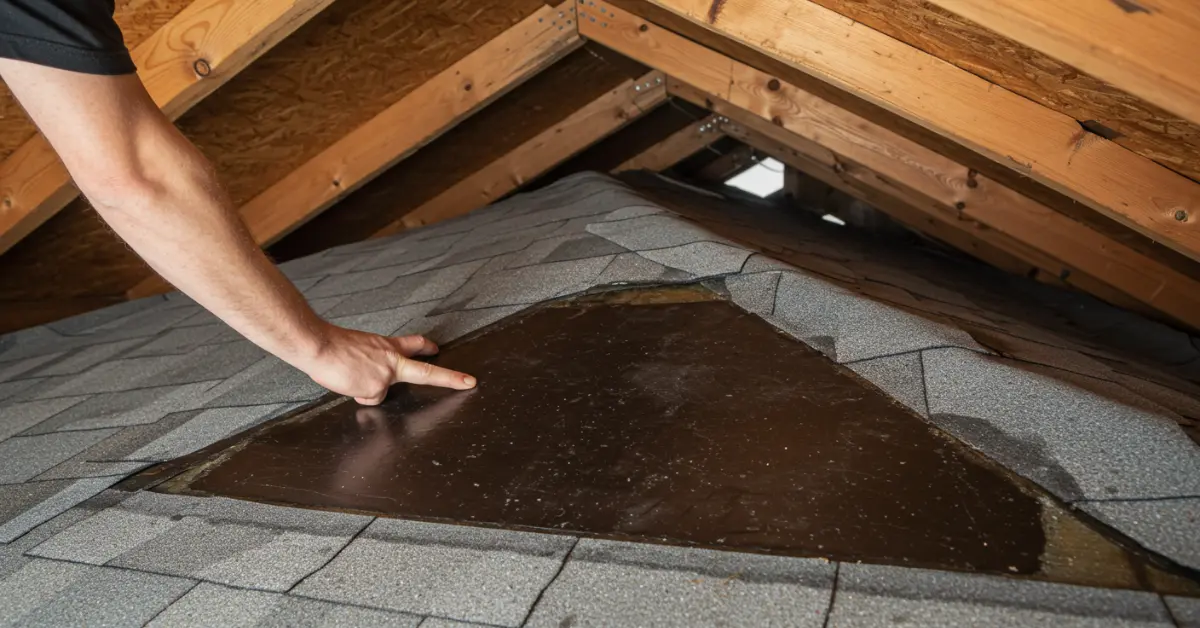
Pro Tip: Repairing roof felt from inside is a good temporary fix, but for long-term protection, plan an exterior repair when the weather allows.
Mistakes to Avoid During an Indoor Felt Roof Repair
Repairing the roof felt from inside the loft might seem simple, but small mistakes can turn into costly leaks. Avoid these common errors:
- Skipping the clean-up: Dust, dirt, and cobwebs prevent the patch from sticking properly. Always clean the area before applying any adhesive.
- Using a patch that’s too small: The patch should extend well beyond the tear to stay firmly in place.
- Not sealing the edges: If the edges aren’t pressed and sealed tightly, water will seep through.
- Working on damp felt: Adhesive won’t bond to wet material. Dry the area first or cover it temporarily until you can fix it.
Important: Indoor felt roof repairs are only a short-term fix. If the damage is severe, hire a professional roofing contractor. They can replace the damaged thought from the outside, ensuring your roof stays safe, secure, and waterproof for years to come. While the upfront cost is higher, a proper repair prevents far more expensive problems later.
When a DIY Fix Isn’t Enough
Knowing when to patch and when to replace is key. If your felt roof is still within half of its expected lifespan and the damage is limited to one small area, a patch repair may be sufficient. But if the damaged section is too large or you notice several weak spots, it may be time for a more permanent solution.
The weather also plays a significant role. Felt roof repairs work best in dry, mild conditions, allowing the adhesive to set correctly. Wet or icy weather can affect the durability of the repair.
Advantages of DIY Felt Roof Repairs:
- Cheaper than hiring a contractor for small leaks
- Can be done at a time that suits you
- Helps extend the life of your flat roof
If you’re unsure whether you can handle the repair, calling a professional felt roof repair contractor is the safest choice. An expert can fix complex issues and ensure your roof stays watertight. However, spotting minor problems early and repairing them yourself can save you from bigger, more costly repairs in the future. To anticipate Roof repair costs, you can use this guide or contact RBG Roofing & Building Group for an honest and transparent quote.
Felt roofs are popular because minor repairs can be simple. With basic tools, the right materials, and some care, you can fix a flat roof yourself and avoid unnecessary expenses.
Tips for Preventing Future Roof Felt Damage
Seasonal Loft Inspections
Check your loft twice a year and after storms. Spot leaks or damp patches early before they spread.
Maintaining Ventilation in the Loft
Keep vents clear to reduce moisture. Good airflow prevents condensation from weakening the roof felt.
Quick Action on Early Signs of Wear
Fix small tears or loose edges quickly. If the damage is extensive or recurring, contact a professional.
Conclusion
Felt roof repairs don’t have to be difficult. Small cracks or blisters can often be patched if spotted early. Regular checks and quality repair products help extend your roof’s life. However, remember that indoor fixes are usually temporary. If damage is widespread or leaks keep recurring, call a professional roofer for a proper repair or replacement. Acting fast protects your home and avoids costly problems later.
FAQ’s
How often should you inspect your flat roof or loft for damage?
It’s best to check your flat roof or loft at least twice a year, ideally in spring and autumn. You should also inspect after heavy rain, snow, or storms. Regular checks help spot cracks, leaks, or lifted felt early, saving you from costly repairs later.
How much does it cost to replace felt in a loft?
Replacing felt in a loft varies depending on the extent of the damage and the roof size. Minor patch repairs usually cost from £200 (the equivalent of 4m²). A complete roof re-felting under tiles typically ranges between £4,000 and £5,000. Final costs depend on labour, access, and the condition of your existing roof.
How long does felt flat roofing typically last in the UK?
A flat roof in the UK, made of felt, usually lasts between 15 and 25 years, depending on the quality of installation, weather conditions, and regular maintenance. Timely repairs, proper drainage, and protective coatings can extend its lifespan, while neglect can lead to earlier leaks and replacements.
What are the most common causes of felt flat roof leaks?
Felt flat roof leaks in the UK are often caused by weathering, poor drainage, standing water, loose seams, or punctures from debris. Ageing felt can blister or crack, allowing water to seep through. Regular inspections and early repairs help prevent minor issues from turning into costly damage.

