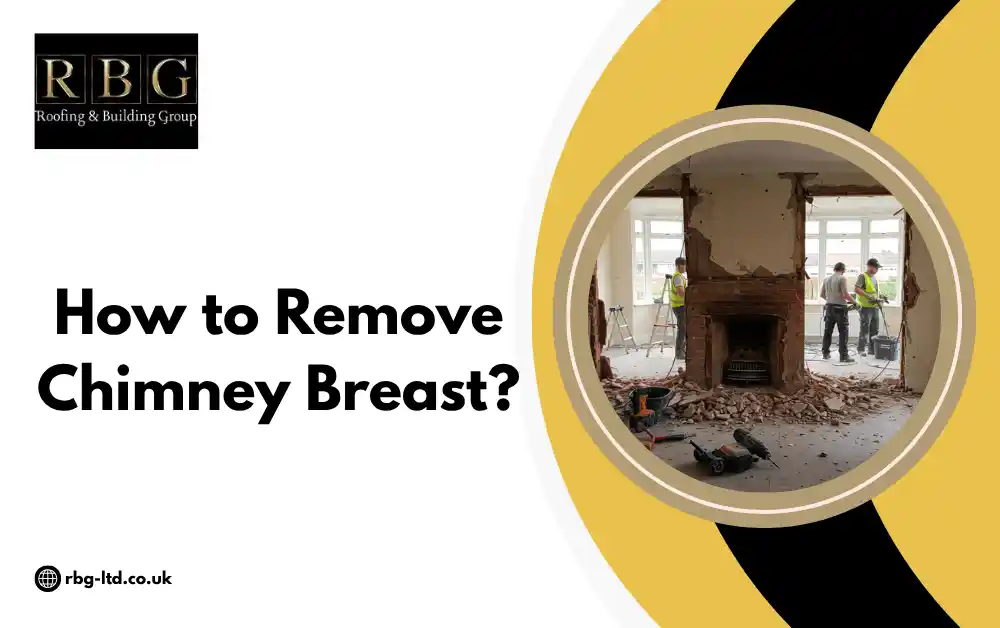
Removing a chimney breast might seem like a big task, but for many homeowners, it’s a smart way to create extra space and give a room a cleaner, more modern look. Whether it’s no longer in use or causing damp patches on the wall, removing it can make a real difference. If you’re unsure where to begin, this guide explains how to remove chimney breast step by step, keeping things simple, practical, and easy to follow.
What Is a Chimney Breast?
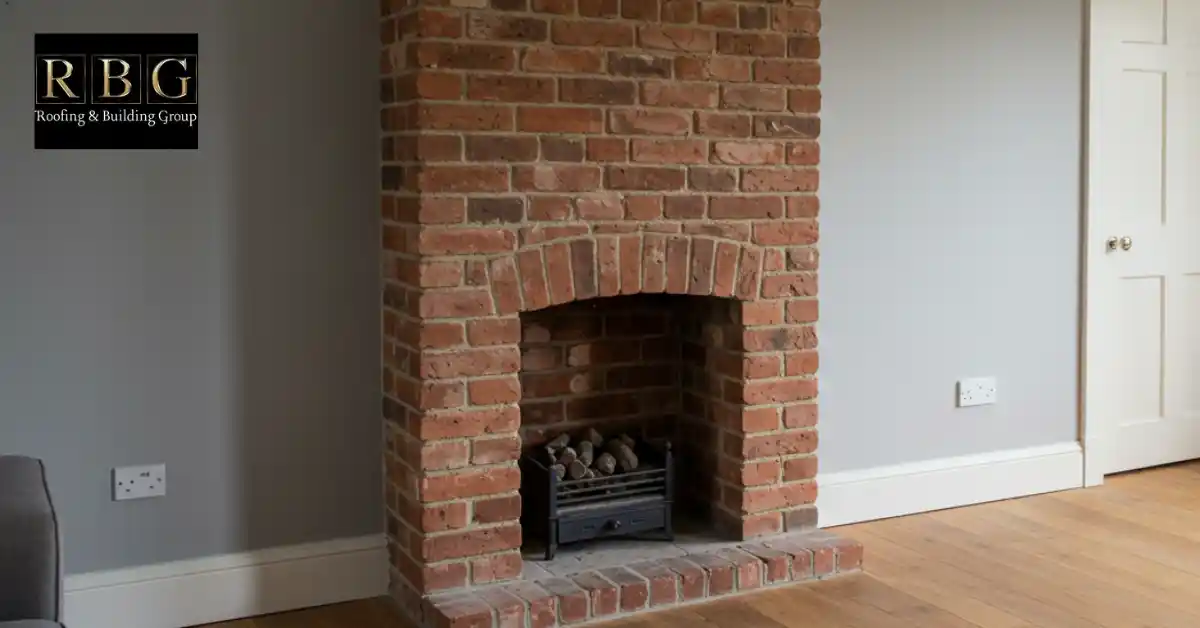
A chimney breast is the part of the wall that sticks out into your room. It’s where the fireplace is used. Inside that space are bricks going all the way up to the chimney stack on the roof. Even if you don’t use the fireplace, the chimney breast is still there, taking up space. Many people want to remove it to make the wall appear flat or to create more room for furniture.
Why Do People Remove It?
Most people want it gone to open up the room or make the wall flat. You can get more space for furniture, built-in cupboards, or even widen a hallway. We’ve seen homeowners turn old fireplace spaces into TV walls or extra storage.
How to Remove a Chimney Breast (Step-by-Step Guide)
Removing a chimney breast can give you more space and a cleaner look in your room. But it’s not just a quick DIY job; it involves tools, safety steps, and permissions.
Here’s an easy step-by-step guide to help you do it correctly and with confidence.
Step 1: Find Out If the Chimney Is Supporting Anything
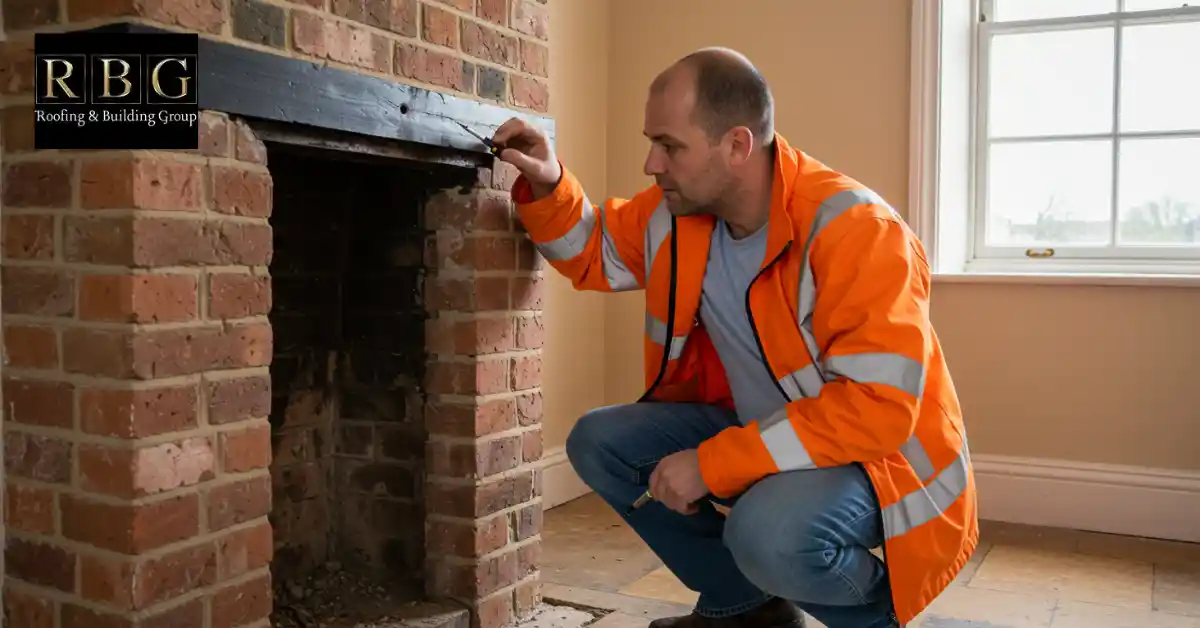
Before you touch a single brick, check if the chimney breast is holding up anything. Some chimney breasts support parts of the floor above or even the chimney stack on the roof.
What To Do
- Call a structural engineer or builder
- Get them to inspect it properly
- Ask if you’ll need a steel beam to support the weight above
One homeowner we worked with didn’t realise the breast supported the upstairs wall. They started breaking it out, and cracks appeared upstairs within hours. Always check first.
Step 2: Contact Building Control
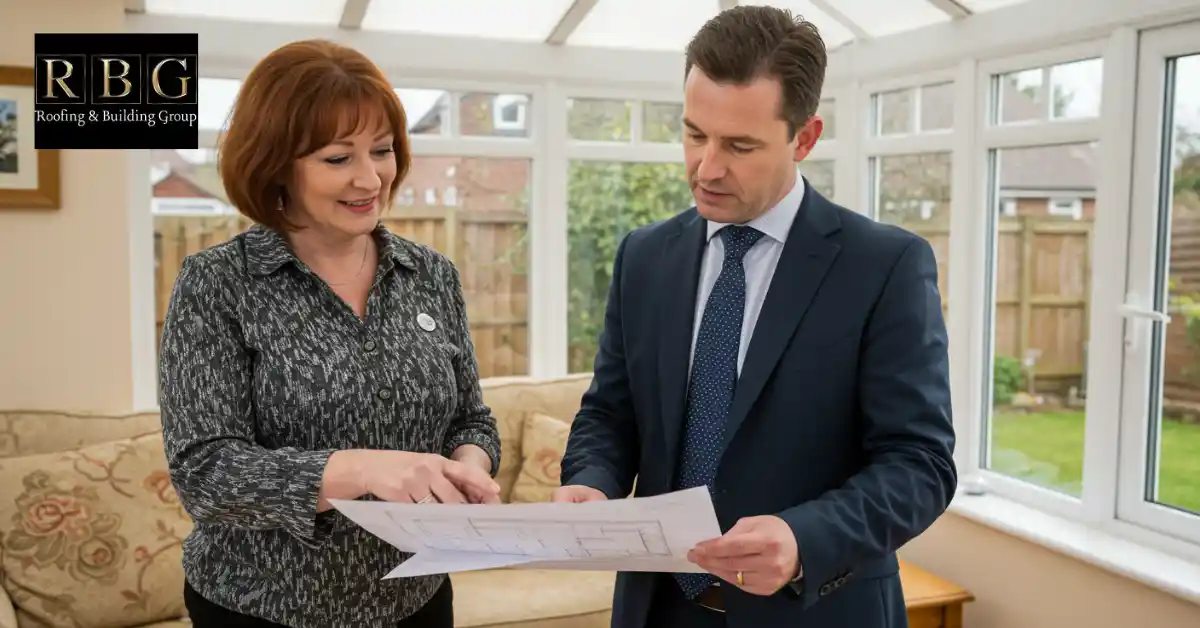
You can’t just knock down parts of your home without permission.
You’ll Need To:
- Submit a building notice to your local council
- Get approval before starting work
- Send a Party Wall Notice if the chimney breast is part of a shared wall
Once approved, you’ll usually get a sign-off inspection once the work is done.
Step 3: Empty the Room and Get Set Up
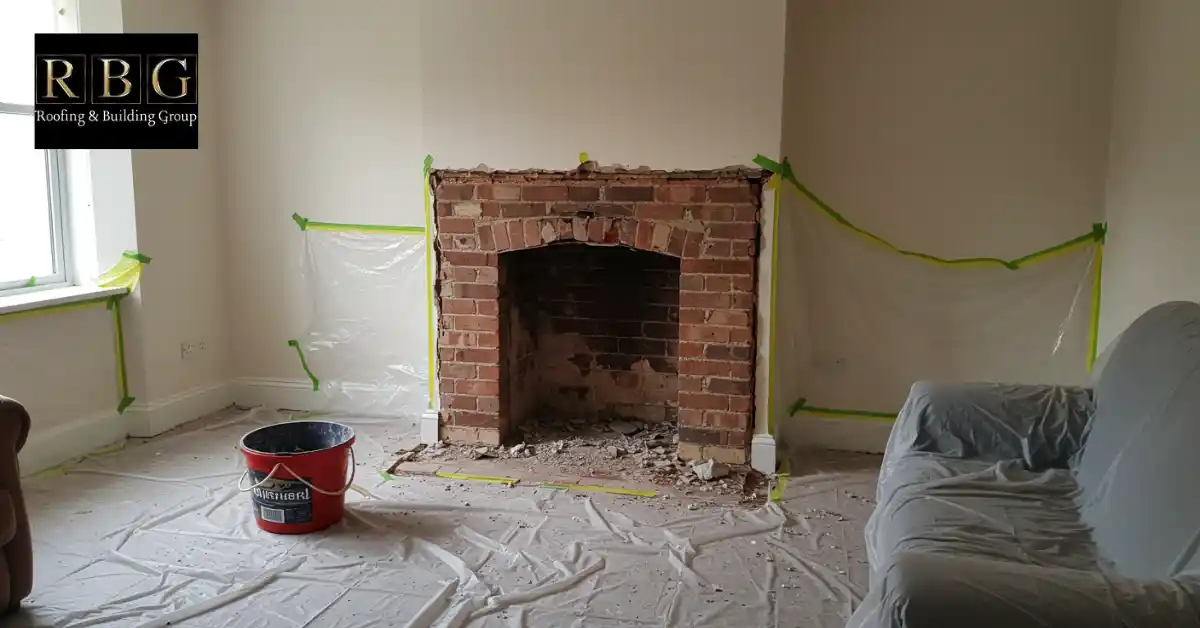
Removing a chimney breast is one of the messiest jobs you can do indoors. Get ready for it.
What To Do:
- Remove all furniture
- Cover every surface with dust sheets
- Block off other rooms with plastic sheeting
- Wear a mask and eye protection at all times
Step 4: Remove the Fireplace First
If the chimney breast still has a fireplace, it needs to come out first.
How To Do It:
- Turn off any gas or electrical supply safely (call a qualified tradesperson)
- Remove the mantel, hearth, and surround
- Gently chisel out bricks around the fireplace opening
- Clear out debris before moving on
Now you’ll have access to the full chimney breast for removal.
Step 5: Start Breaking Down the Chimney Breast
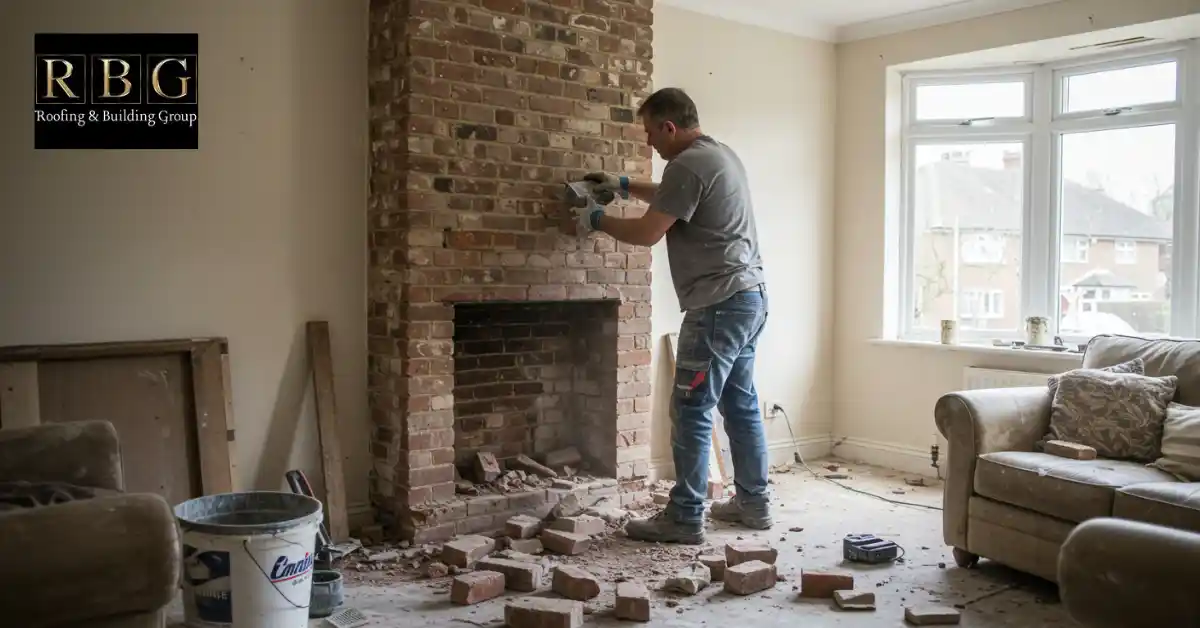
Once the fireplace is gone and everything is safe, start removing the bricks.
Best Way to Do It:
- Start at the top and work your way down
- Use a hammer and chisel to loosen bricks
- Stack rubble into bags or a wheelbarrow
- Be gentle, don’t knock too hard or damage nearby walls
Important: If you go too fast, bricks can fall unpredictably. And behind the chimney, you might find old wires or pipes, so work slowly and carefully.
Step 6: Add a Support Beam (If Needed)
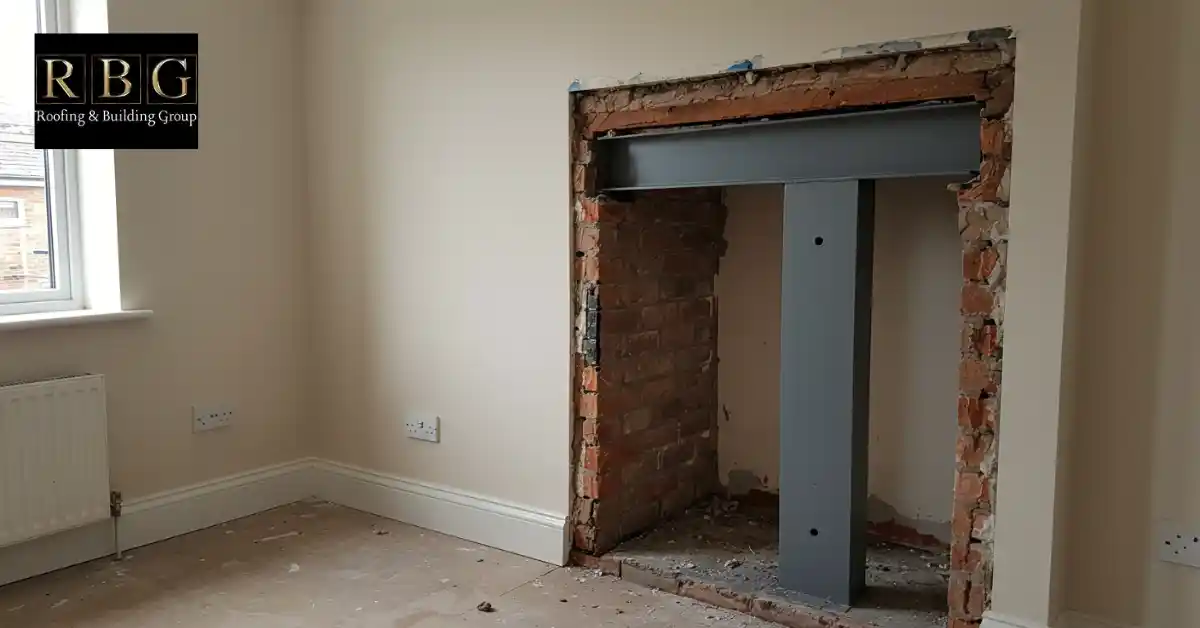
If you’re only removing the lower part of the chimney breast, you’ll need to support the upper section.
How It’s Done:
- A steel beam (RSJ) is fitted inside the wall
- It sits on padstones to spread the weight
- Only a qualified builder or engineer should do this part
Step 7: Make the Wall Neat Again
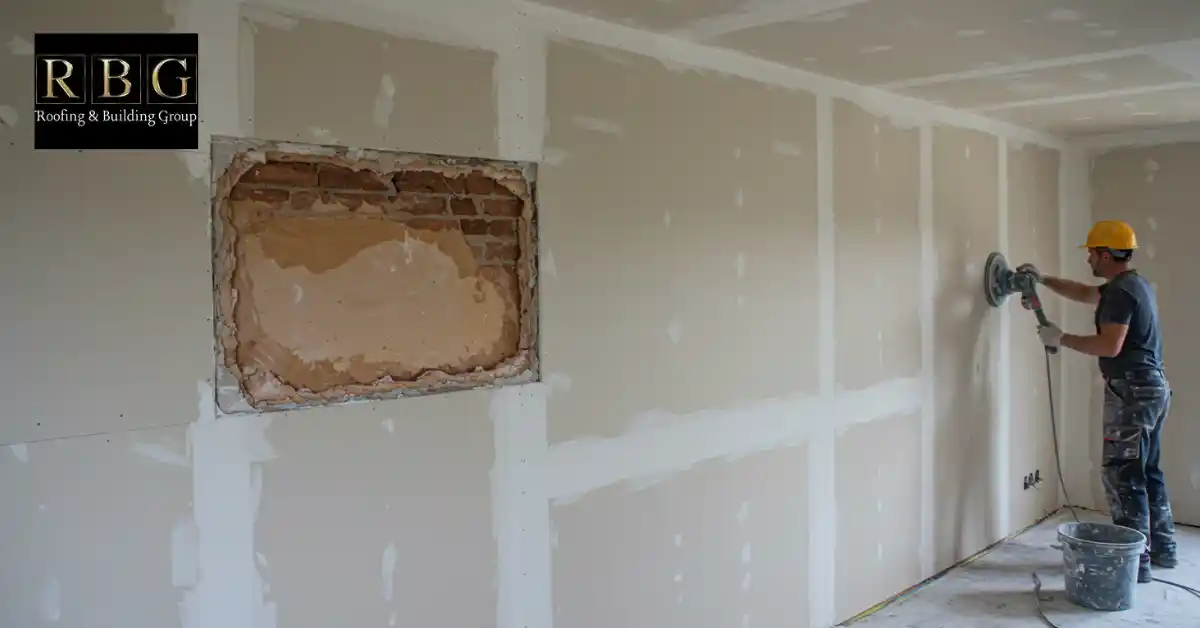
Once the chimney breast is out, you’re left with a big gap in the wall.
Finish It Off:
- Fill the hole with bricks or wooden framing
- Attach plasterboard to cover the area
- Apply filler, sand smooth, and repaint
When done properly, you’d never know a chimney breast was there.
Case Study:
Not long ago, we helped a family living in a semi-detached house in Hereford. They wanted to remove the old chimney breast in their front room to create space for a kids’ play area and a larger sofa. When we visited, we carried out a full inspection. The good news was that it wasn’t load-bearing. This meant there was no need for a steel support beam, which saved both time and money.
Our team of expert roofers in Hereford handled everything, from the building control paperwork to keeping the home clean throughout the process. We carefully removed the bricks, cleared away the mess each day, and repaired the wall with new plasterboard and a smooth finish. The entire job was completed in just five days.
The result? A brighter, more open living room with extra space that the family could enjoy right away. Their estate agent even mentioned it could boost the property’s value in the future. Removing a chimney breast might seem like a big job, but with the right team by your side, it’s easier than you’d expect.
When to Call a Professional
Removing a chimney breast isn’t just hard work; it can be risky if not done properly. Call in expert help if:
- You’re unsure whether it’s load-bearing
- The chimney is shared with a neighbour
- You don’t have experience with structural work
- You need a support beam (RSJ) installed
For safe, reliable chimney breast removal, you can trust RBG Roofing. Our team handles everything from inspections to structural support, making sure the job is done right and your home stays protected.
If your chimney has cracks or damage, it’s essential to get it checked before removing anything. Our chimney repair experts can inspect the structure, identify any issues, and advise you on whether full or partial removal is the best option for your home.
Conclusion
Removing a chimney breast can provide you with more space and a cleaner appearance. However, it’s not just about knocking down bricks; planning, safety, and the right tools are also crucial. If you’re unsure, it’s always a good idea to consult with a builder or structural expert. Done right, it can make a big difference to your home. Whether you want more room for furniture or a modern layout, removing a chimney breast is a solid upgrade. Take your time, follow each step carefully, and avoid cutting corners on safety.
FAQs
Can I remove a chimney breast myself?
You can, but only if you know what you’re doing. If the chimney is supporting any part of your home, you’ll need a structural engineer and possibly a builder to install a support beam. For safety, most people get professional help.
How much does it cost to remove a chimney breast?
Costs can vary. Removing a non-load-bearing breast might cost £1,500–£2,500. If you need a support beam or work on a shared wall, the costs can increase. Always get a detailed quote first.
How long does it take to remove a chimney breast?
It usually takes 2 to 5 days, depending on the size, access, and if you need to add structural support. Add extra time for planning and approval.
Will there be a lot of mess during the removal?
Yes, it’s one of the dustiest and noisiest jobs in a house. Use dust sheets, remove furniture, and seal off other rooms with plastic if possible.
What are the risks of removing a chimney breast without support?
If the chimney breast is load-bearing and you remove it without providing support, it can cause structural cracks, damage to the floors above, or even lead to collapse. That’s why a structural inspection is critical.
Do I need permission to remove my chimney breast?
Yes, you’ll usually need Building Regulations approval, especially if the chimney is load-bearing or part of a shared wall. You may also need to send a Party Wall Notice. Planning permission isn’t required unless the property is listed or in a conservation area. Always check with your local council first.

