Felt is one of the most popular materials used for covering flat roofs, and for good reason. Whether you’re looking to protect a shed, garage, or small extension, roofing felt is an affordable and lightweight solution that is easy to install, even for those with little DIY experience. If you’re wondering how to felt a flat roof, you’ve come to the right place.
As expert roofing contractors, we’ll guide you through the entire process of installing a felt flat roof, from measuring and cutting the felt to laying down the first layer. We’ll also share tips on maintaining a felt roof and a guide on common issues and how to solve them. By the end of this article, you’ll have all the knowledge you need to carry out the job with confidence.
Step-by-Step Guide to Felting a Flat Roof
Felt your flat roof is simple with the right tools and materials. Follow these simple steps to ensure a durable and waterproof finish for your roof.
Measure and Calculate the Roof Area
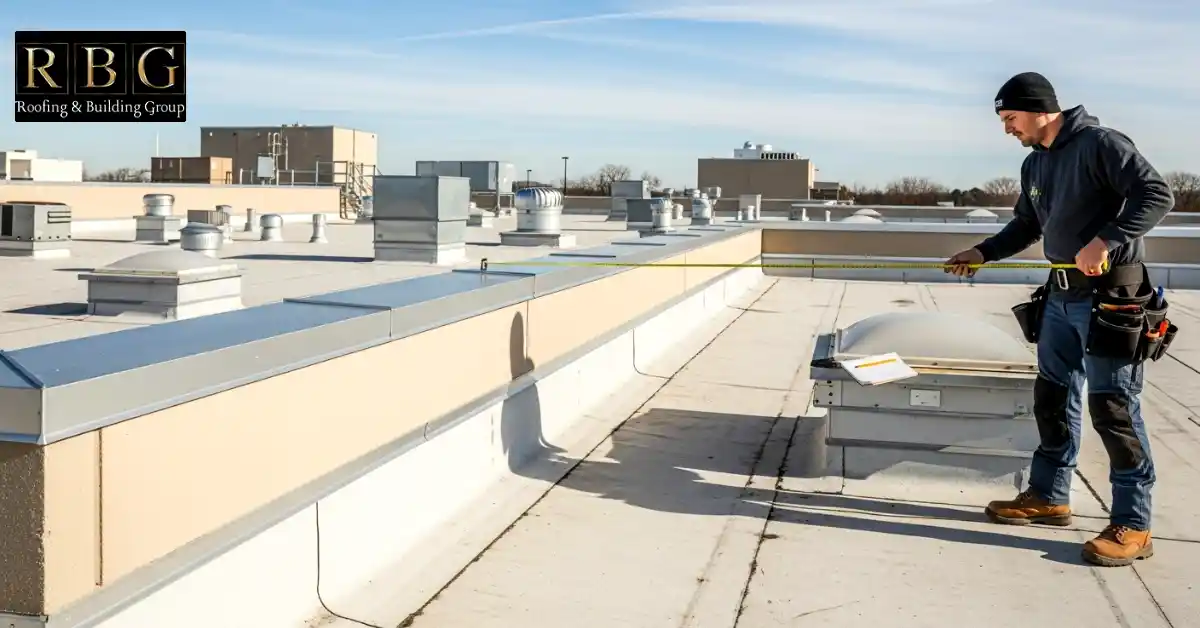
Start by measuring the length and width of your flat roof using a tape measure. Multiply these to get the square footage, then add extra felt to cover the edges and overlaps, ensuring you have enough for a total of three layers.
Cutting and Measuring the Felt
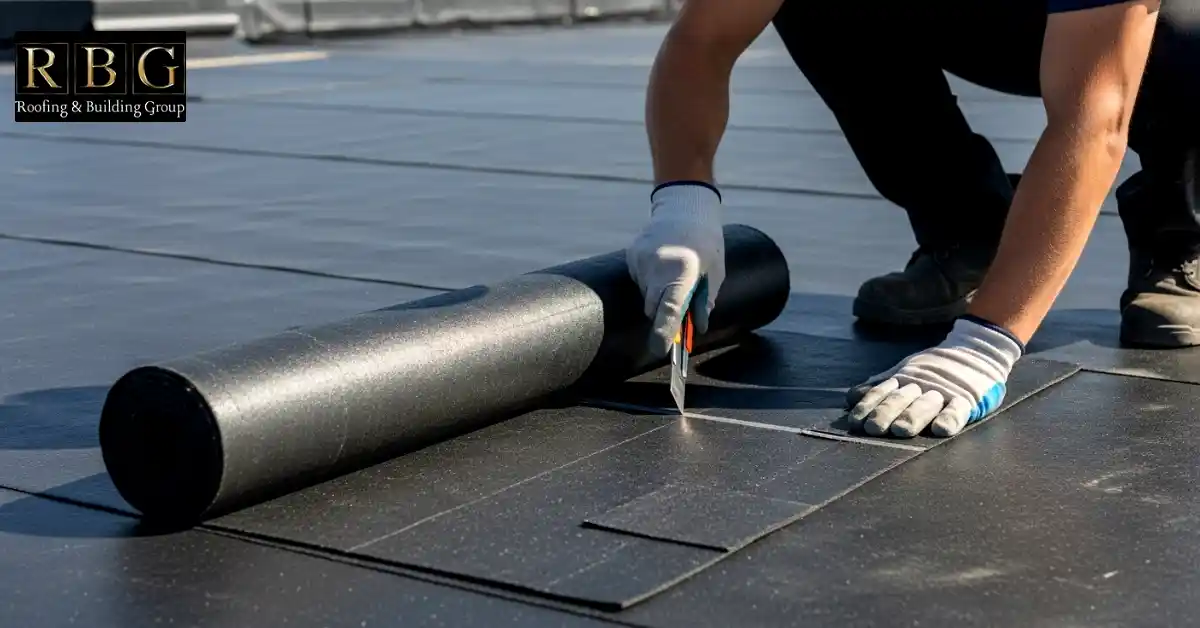
Roll out the felt and cut it into manageable lengths, leaving 5 to 7.5 cm for overlap on all sides. This extra material ensures a secure fit and prevents gaps.
Laying the First Layer of Felt
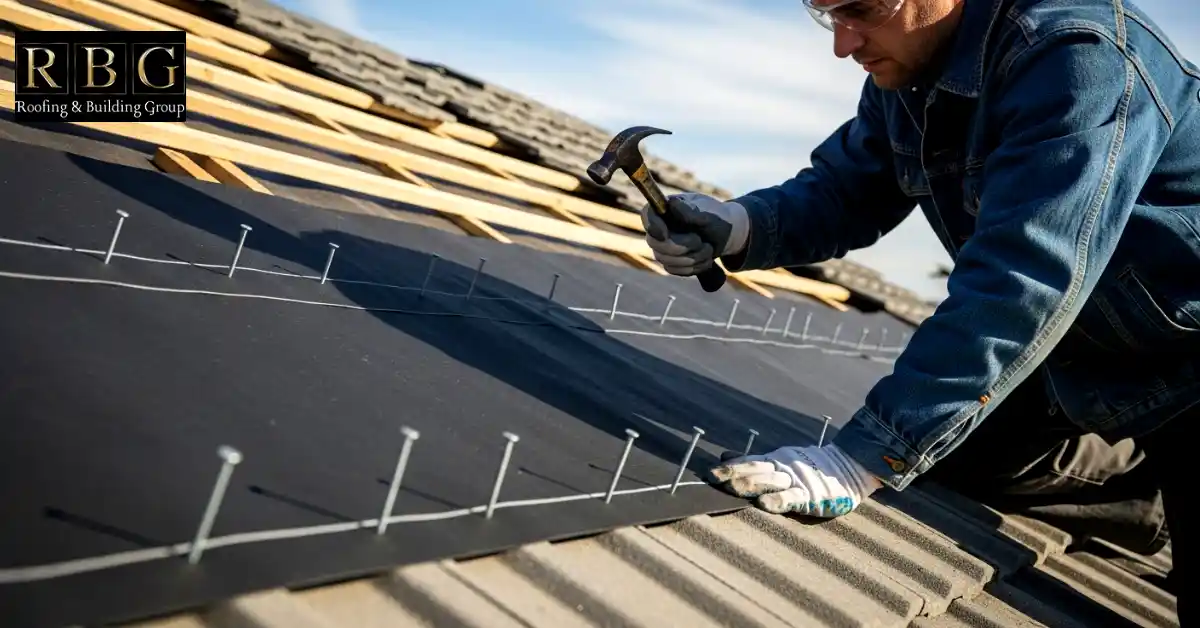
Lay the first piece of felt across the roof, ensuring it is appropriately aligned. Nail it down at 5 cm intervals, starting from the centre to the edges, providing the felt is flat and smooth.
Applying Adhesive and Securing the Felt
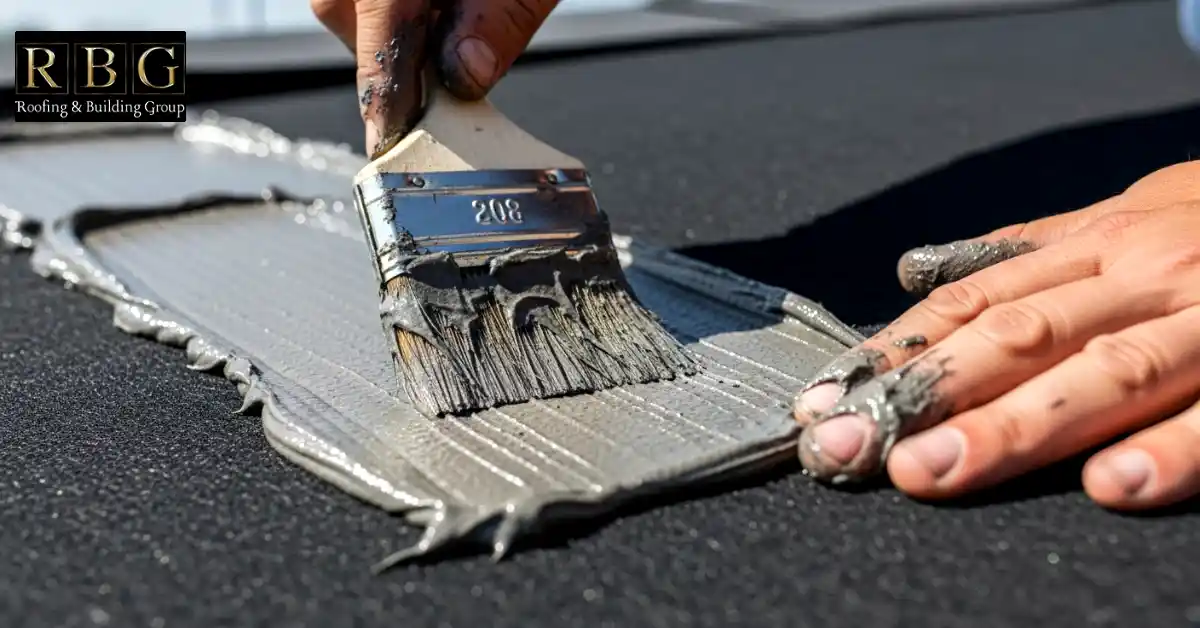
Once the first layer is secured, apply a thin layer of roofing adhesive using a paintbrush. Spread the adhesive evenly over the felt to ensure a strong bond, then press out any air bubbles.
Adding Additional Layers of Felt
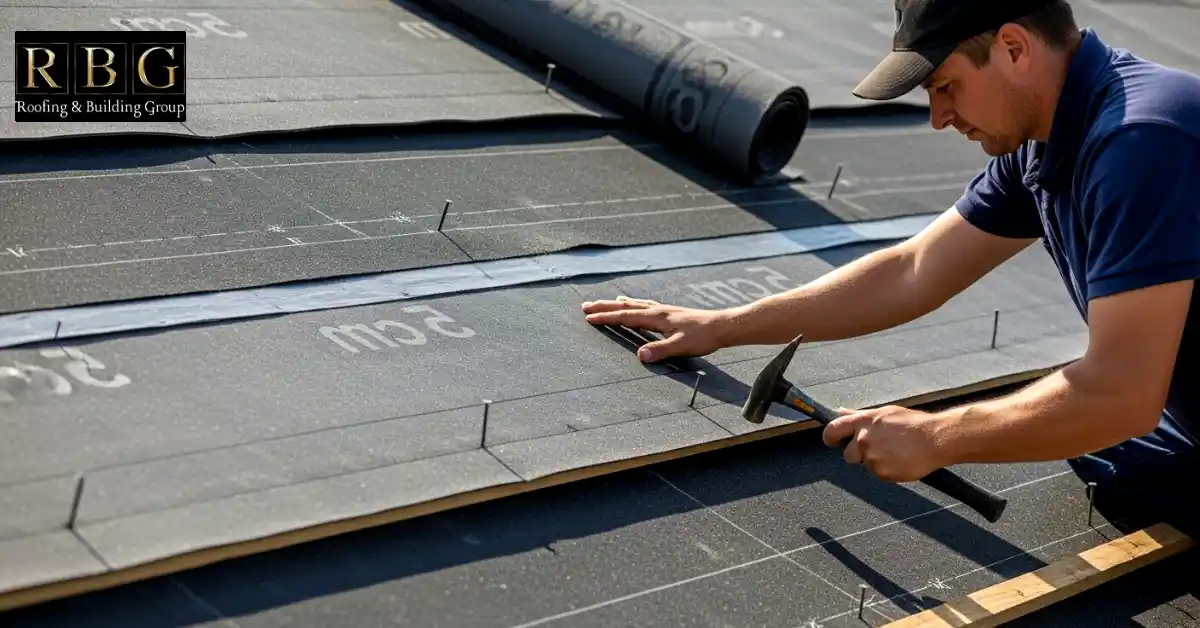
Lay the second and third layers of felt, each with a 5 cm overlap, over the first layer. Secure each layer with nails and adhesive, making sure each piece is smooth and tightly adhered to the roof.
Trimming and Finishing the Edges
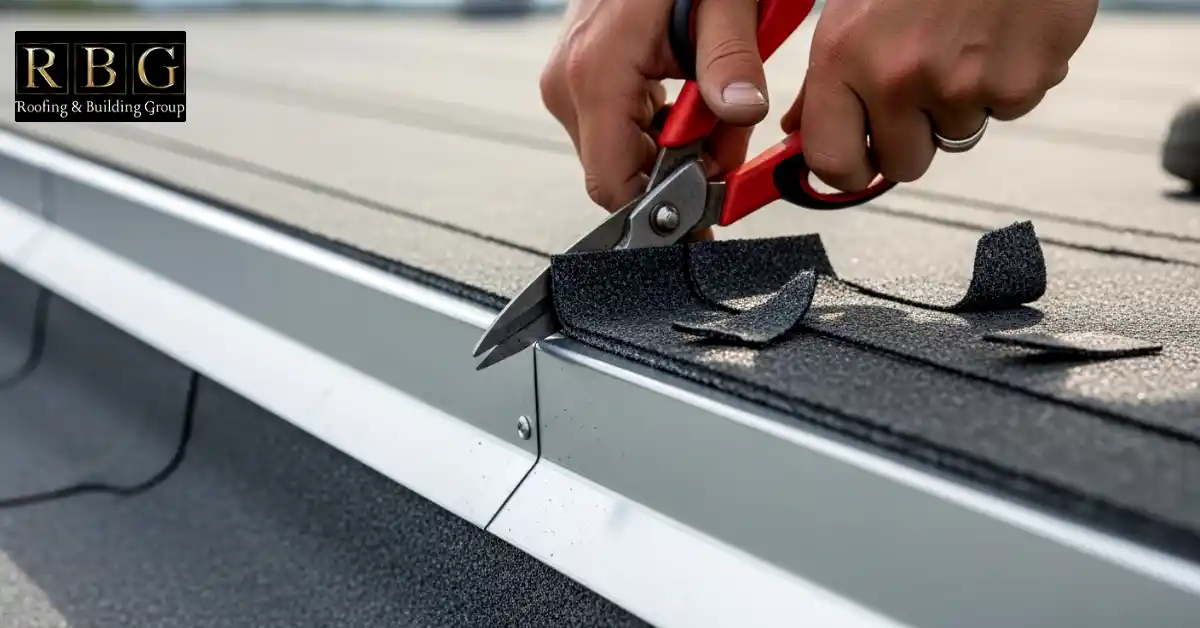
Trim any excess felt around the edges, leaving a slight overlap for added security. This ensures a neat finish and protects against lifting.
Adding Protective Layers (e.g., Gravel or Fibre Trims)
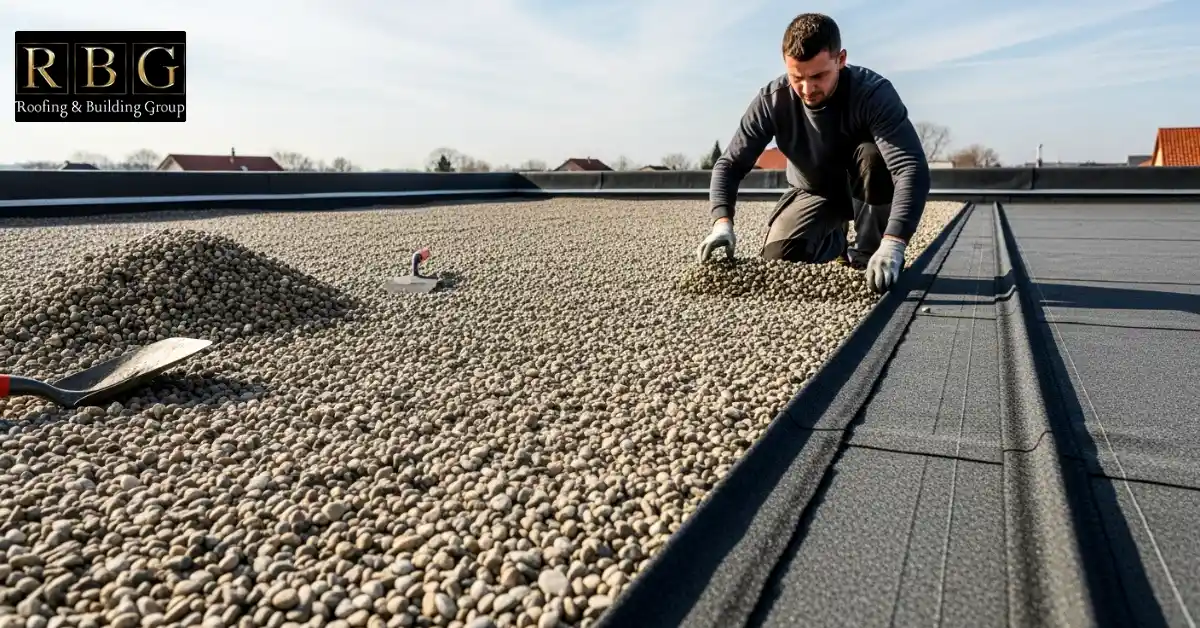
For extra protection, cover the final layer of felt with gravel or fibre trims. Gravel shields the roof from UV damage, while fibre trims provide additional protection and a clean look.
If you don’t have any experience, it’s best to get flat roofing services from a trusted local roofer.
Maintenance and Longevity of Felted Roofs
A well-maintained felted flat roof can last for many years, providing reliable protection for your home. Regular maintenance is key to preventing costly repairs and ensuring the longevity of your roof. Here’s how you can keep your roof in top condition.
Tips for Maintaining a Flat Roof with Felt
- Regular Inspections: Check your roof twice a year for any damage, such as cracks, blisters, or areas where the felt may have lifted. Early detection can save you from larger repairs.
- Keep it Clean: Remove debris such as leaves and twigs regularly. This will prevent water buildup, which can damage the felt over time.
- Prevent Moss Growth: If moss or algae appears, gently scrub them off with a soft brush. Left unchecked, they can weaken the roof’s surface.
- Ensure Proper Drainage: Clogged gutters or drains can cause water to pool on the roof, potentially leading to damage. Keep these clear to prevent water damage and leaks.
Fixing the leaking flat roof as soon as you discover the leak is also crucial for the roof’s long-term durability.
Common Issues and How to Prevent Them
- Cracking and Ripping: UV exposure and weather can cause felt to crack or rip. Protect the felt by adding a layer of gravel or fibre trims to shield it from the elements.
- Water Pooling: Flat roofs are prone to water pooling, which can lead to leaks and other issues. Ensure the roof has a slight slope and regularly inspect the drainage system to keep water moving off the roof.
- Leaks: Over time, felt can develop leaks, especially along seams. Reapply adhesive as necessary, or address any problem areas promptly.
- Blistering: Air or moisture trapped beneath the felt can cause blistering. Press out the air, and secure the area with adhesive to prevent further damage.
By following these simple maintenance steps and addressing common issues promptly, you can prolong the life of your felted roof and keep it in excellent condition for years.
Conclusion
A flat roof is a cost-effective and straightforward way to protect your home from the elements. With the right materials and a bit of DIY effort, you can install a durable, waterproof layer that will last for years to come. Whether you’re covering a shed, garage, or extension, the key is to choose the correct type of felt, follow proper installation steps, and maintain it regularly. Remember to inspect your roof periodically, clear away debris, and address any issues, such as leaks or pooling water, as soon as they arise.
FAQ’s
What to put under roofing felt?
Under roofing felt, you should ideally use a solid, clean surface, such as plywood or oriented strand board (OSB), which provides a smooth, stable base. This ensures the felt adheres properly and prevents any movement or damage over time. Additionally, consider installing a vapour barrier for added protection against moisture.
How many layers of felt should be on a flat roof?
For a durable, long-lasting roof, three layers of felt are typically recommended. The first layer is secured with nails, followed by an adhesive layer, and then a second and third layer are applied in the same manner. This provides extra waterproofing and protects the roof from the elements.
Do you need a membrane under roofing felt?
While a membrane isn’t always required, it can offer added protection. A membrane, similar to a vapour barrier, helps prevent moisture build-up beneath the felt, reducing the risk of water damage and prolonging the roof’s life. It’s beneficial in areas with high humidity or where condensation is a concern.
How to hold down roofing felt?
To hold down roofing felt, use galvanised nails or roofing tacks spaced about 5 cm apart along the edges and centre of the felt. Apply adhesive between layers for added security. For flat roofs, make sure the edges are secured with overlapping felt layers and adhesive to prevent shifting in windy conditions.

